Animation for Beginners
Where do I start?
One of the most common questions I get (almost on a daily basis) is:
“I want to get into animation. Where do I start?”
In this massive guide I try to cover (almost) everything you might need to know about animation if you're trying to get into the animation industry.
I'll cover some of the basic concepts of animation, vocabulary, principles, software, hardware, books, courses as well as some of the options for people who want to get into the animation industry, but are overwhelmed or intimidated.
I'll go over what is animation, what it takes to make animated movies (2D or 3D), and even how to start looking for a job in the industry.
Easy to learn, hard to Master
It's easier to get into animation today than ever before.
Software's getting cheaper (or even free), and most modern computers can handle the more simple animation tasks (mostly 2D).
The catch is that although anyone can start animating right now, the art of animation still takes time to master.
The good news is...
You don't need to be a Disney-grade animator to create really cool animations.
You can start small and simple and slowly develop your skills and unique style. You don't even need to know how to draw well.
And also...
We built an entire course dedicated to understanding the basic principles of animation, so that you can cover your basics before jumping into animation. It's this one, right below.
Animation Foundations course
Learn the basic principles of character animation, including a survey of the different types of animation, basic vocabulary, and the 12 principles of animation. If you’re just starting out and want to make sure your basics are covered – this course is the best place to start.
What is Animation?
Animation is the art of bringing life to an otherwise inanimate objects, or illustrated / 3D generated characters.
It is created by projecting sequenced images quickly, one after another, to create the illusion of life.
But that's not really the first thing you imagine when you hear the word Animation, isn't it?
That's just technical stuff...
You're probably thinking of Disney, Pixar, or Ghibli. We'll get there...
The most important part of all of that is the word life. Bringing life is the true essence of the animator's job. And there are many ways of doing that.
It could be by drawing.
It could be by moving character rigs on a 3D software.
It could be with puppets, cut-out characters, or lego figures.
So what does being an animator mean?
Before we jump it, you can watch this video where I explain the differences between animating in 2D and 3D. This will give you an idea of what an animator actually does.
It might also give you a clue about what direction you might want to pursue.
Animation Vocabulary
Now that we covered the basic idea of what animation is, it's important to understand the vocabulary and specialized terms used in the animation and filmmaking industry.
These terms will come up often, so let's take a few minutes to go over them:
Timeline
The timeline is the part of the animation software that represents the animation's progress over time.

Depending on the software, we might use the timeline to make changes to the timing of the animation, as well as the position of the elements.
Frame Rate
The frame rate of an animation is the number of individual images (or frames) that are being displayed over the span of one second. It is a setting you can adjust in the animation software.
Animation is usually done in 24 frames per second (FPS).
Working on One's & Two's
Working on One's or Two's is a term used in hand drawn animation.
Working on one's would mean doing a new drawing over every single frame of the animation.
Working on twos means holding each drawing for two frames, so one second of animation at 24 frames per second would only be 12 drawings, not 24.
In 2D animation working on two's looks fine in most instances, and there are even cases where drawings can be held longer. In 3D, though, working on one's is the standard.
Shots & Scenes
Normally in live action filmmaking, the term 'shot' refers to the images between camera edits, while a scene is all the shots and dialogue that take place at a particular location for a continuous block of time.
In animation, however, we often use the term 'scene' and 'shot' interchangeably. When we talk about a scene/shot, we often refer to one specific continuous piece of animation in between camera cuts.
Keyframes | Breakdowns | Inbetweens
Key frames, breakdowns and in-betweens are important terms, but they mean slightly different things depending on the type of animation.
In hand drawn animation, keyframes (or just keys) are the major important poses that define the scene. Breakdowns come between keys and define what the motion from key to key will be. In-betweens are all the frames that come in between to smooth out the motion.
In 3D, a keyframe is any position on the timeline where the animator has defined the position of the character. In-betweens are all the frames that the computer interprets or automatically generates to move the character from key to key.
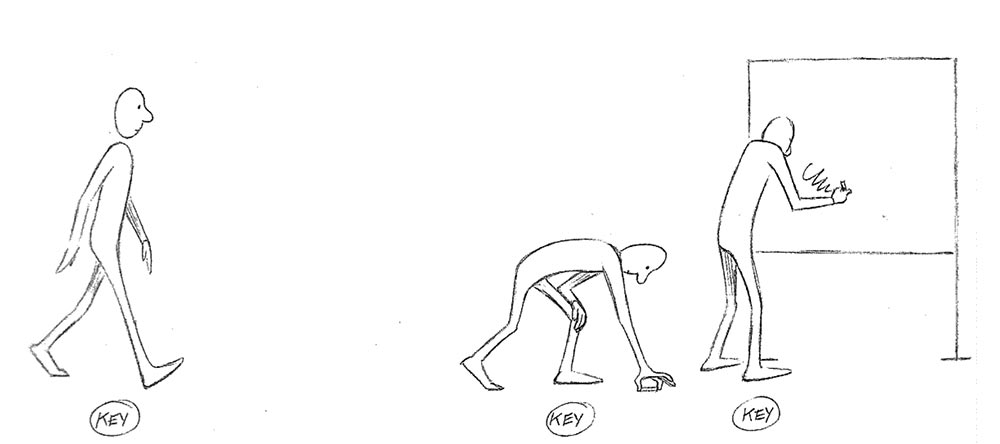
Keyframes
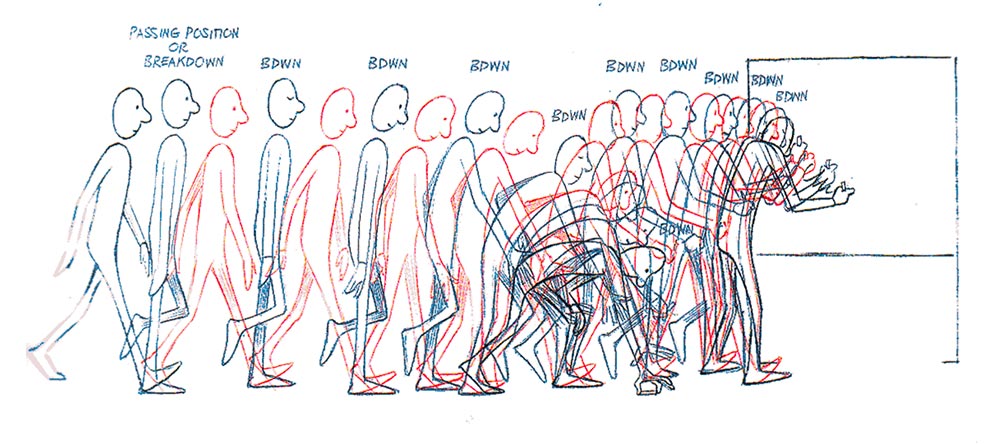
Breakdowns

In-betweens
Images taken from The Animator's Survival Kit / Richard Williams
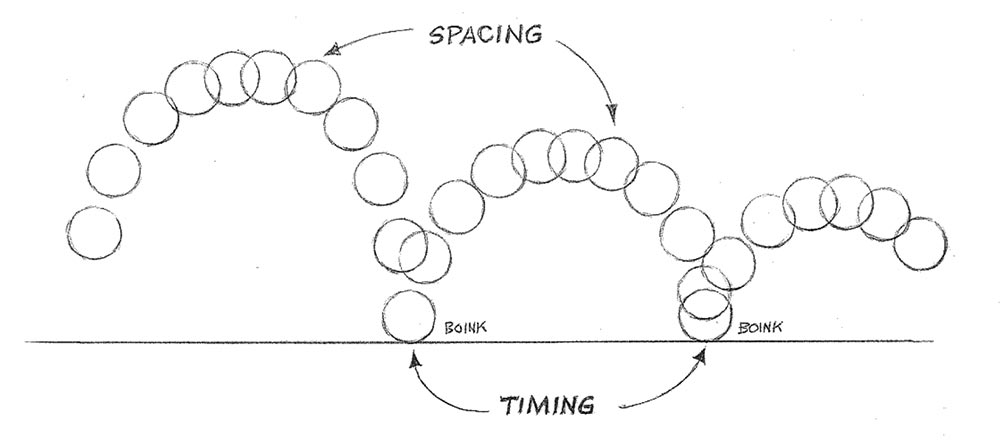
Timing | Spacing | Easing
Timing, spacing and easing are closely related terms.
Timing means the total number of frames that will be used for a movement. Spacing is the amount of change that comes between each frame. Decreasing the spacing, makes an object slower, while increasing the spacing makes it look faster.
In digital animation, easing is how spacing is controlled, usually through a motion graph on the timeline.
Onion Skinning
When animating, it's very useful to be able to see more than one frame at a time.
In paper animation this is done by having multiple drawings on a light table, but in modern animation programs there's often a feature called onion skinning. It lets you see semi-transparent representations of the frames behind or ahead of the current frame you're working on.
Compositing
Compositing is the process of putting all the individual pieces of a scene together to create the final visual output.
You might have a background, multiple characters, and some scenery all being developed separately. Compositing is how all those pieces get put together into a single scene.
The 12 Principles of Animation
The foundation of any animation education is the 12 principles of animation.
The 12 principles were a set of core concepts that were developed in the 1930's by animators at Walt Disney Studios as they were transitioning from doing shorts to feature films. It was a gradual process of discovery and refinement as the animators tried to push their work to a new higher standard.
These 12 principles were first compiled by the legendary animators Frank Thomas and Ollie Johnston in 1981 in their book The Illusion of Life.
Creating the illusion of life is what the principles are all about. They help us create characters that look like they have weight, personality, and exist in a real world with real physics at work.
Even though they were developed by 2D animators, they still apply to 3D and any other type of animation.
1. Squash & Stretch

Squash and stretch describe how an object changes shape in response to forces acting on it.
Squash is when the object is compressed by an impact of an opposing force. Stretch is when an object is distended by something pulling on it, or by moving quickly.
2. Anticipation

Anticipation is a smaller movement that comes before a major one, and signals that the major movement is about to happen.
3. Staging
Staging is the presentation of a shot in a way that makes the content of the shot as clear as possible, and the narrative function of the shot as strong as possible.
4. Straight ahead vs. Pose-to-pose
Straight-ahead and pose-to-pose are different approaches to animating.
Straight-ahead means creating each new frame in sequence from beginning to end. Pose-to-pose means creating the key poses for each action first, and then filling in the in-between poses.
5. Follow Through & Overlapping Action
Follow-through and overlapping action refers to the tendency of different parts of a body to move at different speeds.
This includes the concept of drag, which is when one part of the body lags behind when a motion starts.
6. Slow in & Slow out

Slow-in and slow-out refer to the tendency of objects to gradually accelerate (and then decelerate) when moving from one position to another.
These are sometimes referred to as ease-in and ease-out, or simply easing.
7. Arcs

The principle of arcs come from the observation that living things don't move in straight lines, but rather in curved motions.
Creating graceful, clear arcs often elevates the animation and reveals the experience level of the animator.
8. Secondary Action

Secondary action refers to smaller movements (or gestures) that support the primary actions of a character.
These actions make the shot clearer by emphasizing the attitude or motivation behind the movement.
9. Timing

Timing is controlling the speed of an action through the number of frames used to represent it.
It is one of the most fundamental of the 12 principles and takes years to master.
10. Exaggeration

Exaggeration means representing a subject in a heightened or more extreme way, rather than strictly realistic, in order to push your animation further.
11. Solid Drawing

Solid drawing means posing characters in a way that creates a sense of volume, weight and balance.
Drawing for animation requires being able to draw the characters from any angle or pose, with three-dimensionality in mind.
12. Appeal

Appeal is a broad term for any qualities of a character's design that makes them inherently compelling to watch.
This includes the design of the character, as well as how the character is animated.
For a deeper look at the 12 principles...
We suggest checking out our Animation Foundations course.
It covers the basic principles of character animation, and goes deeply into each of the 12 principles of animation, as well as basic animation workflows and techinques. If you’re just starting out and want to make sure your basics are covered – this course is the best place to start.
Types of Animation
There are many different types of animation, some of which you're probably already familiar with, so let's do a quick rundown of the different types of animation and what the differences and similarities are.
3D Animation
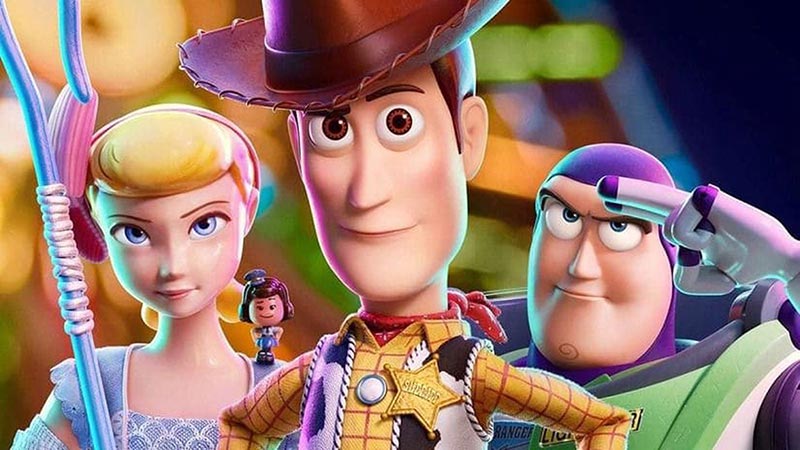
Toy Story 4 | Pixar Animation Studios
3D, also referred to as CGI (computer generated imagery), is the most popular type of animation for feature films currently, and it's become common in TV and short films as well.
This is also the same type of animation used to create digital characters for live-action films and animation for video games.
An animator uses a digital puppet (called a character rig) to position the character, and then use a system of motion paths (or splines) to define the movement of the character between those poses.
The computer proceeds to interpolate the frames of the animation in between the key frames. The animator then refines these frames until they are satisfied with the animation.
3D animation is a technically intensive process, which often involves many separate specialists to model the character, rig it with bones and controls, animate it, and then texture and light it for the final output.
2D Hand-Drawn Animation
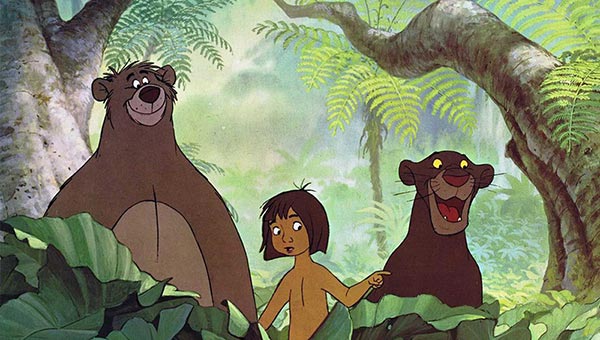
The Jungle Book | Walt Disney Production
The first type of 2D animation might be called traditional animation or cel animation. I prefer the term hand-drawn animation because that define its most important aspect - the fact that it is drawn by hand.
This is the classic type of animation you're probably most familiar with. In the old days, animators drew characters frame by frame, and then those drawings were transferred onto clear acetate sheets called cels for painting. That's where the term cel animation comes from.
Through the 1990s almost all animation studios stopped using cels and started scanning drawings into the computer for digital coloring, and now many hand-drawn animators skip paper altogether and draw directly into the computer using a tablet or Wacom Cintiq monitors.
So hand-drawn animation could be done entirely analog or entirely digitally, or some mix of the two. The important thing is that hand drawn animators still create their animation frame by frame using the same techniques and principles as in those old days of paper and cels.
2D Vector Animation
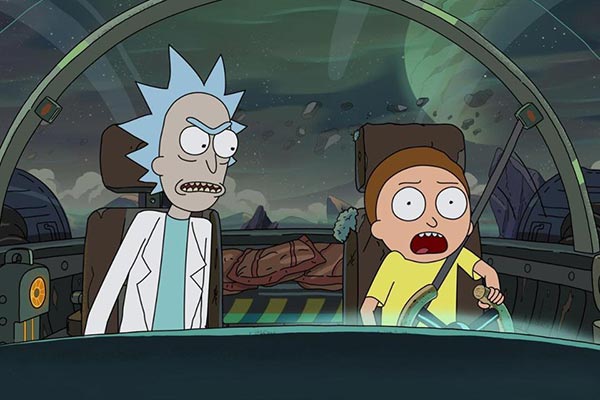
Rick and Morty | Adult Swim
Nowadays there are new ways to create 2D animation using a 2D digital puppet. These are 2D characters which are built with a system of bones and controls that can be manipulated in a way similar to a 3D character rig.
The difference between 2D rigged characters and hand-drawn characters can get a bit blurry. Programs like Toon Boom Harmony and Adobe Animate CC let you seamlessly mix and match hand-drawn animation with 2D puppet techniques, sometimes even within the same character.
A character could have bones that let the animator pose it, but also have other parts that are animated by hand.
Stop Motion Animation
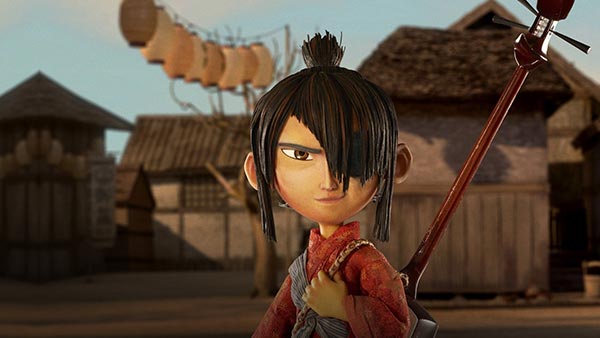
Kubo and the Two Strings | Laika
Stop motion has several variants, but they all involve manipulating real world objects. These objects are moved slightly, and photographed one frame at a time. When shown in sequence, these frames create the illusion of movement.
In higher-end stop motion, like the ones created by Laika (Coraline, Kubu and the Two Strings), a specially rigged puppet is shot on a miniature stage.
Claymation is a similar technique. In it, malleable characters are used, though they're generally made out of a substance called plasticine, not actual clay.
You can also do stop motion with regular figurines, and objects, like all those great Lego animations you can find on YouTube.
Another variation of stop motion is paper cut-out animation. In this style, characters are built out of paper shapes. They might be pinned together at the joints to make a posable figure, or pieces might be set in place so that they can be swapped out. They are then moved and photographed frame by frame, just like a stop motion puppet. That's how South Park was originally animated.
Another rare type of stop motion is called pixelation. In pixelation, real people are used instead of puppets.
All of these types of stop motion share an important characteristic:
They all have to be shot straight-ahead, which means starting at frame one and shooting each frame one after another, all the way through the end of the scene.
If a mistake is made on one frame, it's very difficult to fix it without having to start all over again. You can't just redraw that frame like you can in 2D animation. This makes this type of animation particularly intense and it requires a lot of patience.
Motion Graphics Animation
Motion graphics
The last big category of animation is motion graphics. Motion graphics focuses on making dynamic and interesting presentations of moving text logos and basic illustrations.
Motion graphics can be both 2D and 3D, and you'll find them everywhere in commercials, explainer videos, sporting events, the news and other TV productions.
Proper character animation is generally outside the scope of motion graphics, but many of the core animation principles apply to motion graphics too.
For a more in-depth look at the 5 types of animation, check out our complete guide on the 5 types of animation, including detailed history of each type, and the best schools, software and courses.
The Process of Animation
Now that we understand the basic concepts of what animation is, lets go over the workflow of creating animation.
First, I'll go cover the basic steps of the animation filmmaking pipeline (all the moving parts it takes to create an animated movie), and then I'll breakdown the process of actually animating a shot from start to finish.
So what are the steps of making an animated film?
1. Story
The first (and probably the most important) part of making any film is a good story.
If you don’t get your story right from the start, then no matter how great your film looks, people will not enjoy watching it. Story comes first. make sure it’s good and that it works before you move on.
In animation, the story often evolves and changes during production, since you're not restricted to whatever shots you got on set, so the more work you put into developing your story, the more you reduce wasted time during production.
2. Script
Once the idea for the story is ready to put into words, the next step is writing the script.
It’s important to transfer the idea into words as soon as you can, so that we can spot any issues with the story before getting into production.
3. Concept Art
Once the script is ready, concept art is often created to establish the visual style of the film.
That’s a really fun step, and is the first chance we get to see parts of the film come to life on paper. It’s all about exploring and trying things out.
4. Storyboard
Next is creating a storyboard, which is probably one of the most important steps in figuring out the film.
Storyboarding allows you to look at your film as a whole and spot story and pacing issues. Making one also provides you with something you can show other people for feedback. Most people react better to a storyboard than a script.
Once we're happy with the boards, we move on to creating an animatic.
5. Animatic
An animatic is the movie version of your storyboard.
If storyboard is like a comic book, then an animatic is like a movie.
We bring all the boards into an editing program and edit them with the correct timing, add some temporary music and sound effects (just enough to convey the different story beats), and when we're done we have the first version of our film ready to watch.
As great as a storyboard is, an animatic really gives us a first glimpse into what our film is going to be like.
6. Creating Assets
At this point, depending on your animation medium of choice, we'll be creating the different assets for our film.
For 3D animation we'll create the models for the characters, environments, sets, and the props. We'll use the concept art and model sheets as our reference. These models will then have to be rigged with a 3D skeleton with controls, so that we can animate them in our scene.
For 2D animation we'll draw the background, finalize the character design sheets, and if necessary - rig the characters in our 2D animation software.
For stop-motion animation we'll build our sets, our puppets, the props and different pieces of clothing needed for the film.
7. Previs
Before we get into animating our scenes, there's another important step in making sure the story works, and that is creating a previs (or pre-visualization).
A previs is the next incarnation of the animatic, this time using 3D models.
We set up our shots in the 3D program, with the final camera angles and motion, and create very basic animation for the characters, just enough to convey the action they're suppose to be doing.
We then bring all of these shots to the editing program, just like we did with the animatic, and we now have a previz version of our film, with the correct 3D models and camera motion.
because animation takes a very long time, this is the last chance we can have to make any serious story changes in our film. It will be a huge waste if we had to make story changes after the animation phase.
8. Animation
We're finally ready for animation!
This is where we finally bring life into the film. The characters start to move, and we can see the soul of the film come to life in front of us.
It’s an amazing thing to see, but it also takes a long time. Done incorrectly, it can ruin our movie. Bad animation is like bad acting: Even if the writing and story are solid, people won’t notice if the delivery is all wrong.
We'll go deeper into the 6 steps of animation later on in this section.
9. Texturing | Lighting | Rendering
This step applies mostly to 3D animation, though 2D animation goes through similar post-production steps similar to this, and stop-motion animation spends a long time doing compositing and miscellaneous effects on top of their shots as well.
In 3D, models need to be textured, which means creating different materials assigned to the different parts of the models. Some simulate metal, some plastic and even a few for skin and hair.
We then light the shots with virtual lights, replicating as closely as we can how light works in real life.
Then when our shots are textured and lit, we start the rendering process, which is the computer calculating all of the data in our scenes, and creating still images from it.
We then take these images to a compositing program, like Nuke or After Effects, extract the necessary data from the images, and combine them to create our final images.
10: Editing | Color correction
Once our images are composited and ready, we bring them back into our editing program and replace our previs shots with our new composited shots, just like we replaced the animatic shots with the previz.
We are now able to see our finished film on the editing timeline for the first time, but, it’s not really finished yet. We need to do some color correction and grading.
Color correction is the process of manipulating the colors of each individual shot so that it matches the one the comes before / after it. We also make sure each shot doesn’t have parts that are too white or too black, basically working so that we get a consistent and correct color all throughout the film.
Then we grade our film, which is the more fun and creative part, in which we try to create a visual style for the whole film, and give it a distinct look.
11. Music | Sound design
Ideally we've been working with a musician from day one of production, making sure the music fits what we were trying to do with the film, and making sure the film works with the music.
Music is not usually something we simply slap on at the end, and so I prefer to have it with me throughout the production so it becomes an integral part of the story.
The sound designer then finalizes all the film’s sound effects like folly, ambiance and voices, as well as mastering and mixing in the final audio of the film.
If you want to know more about making animated shorts...
Check out the course bellow
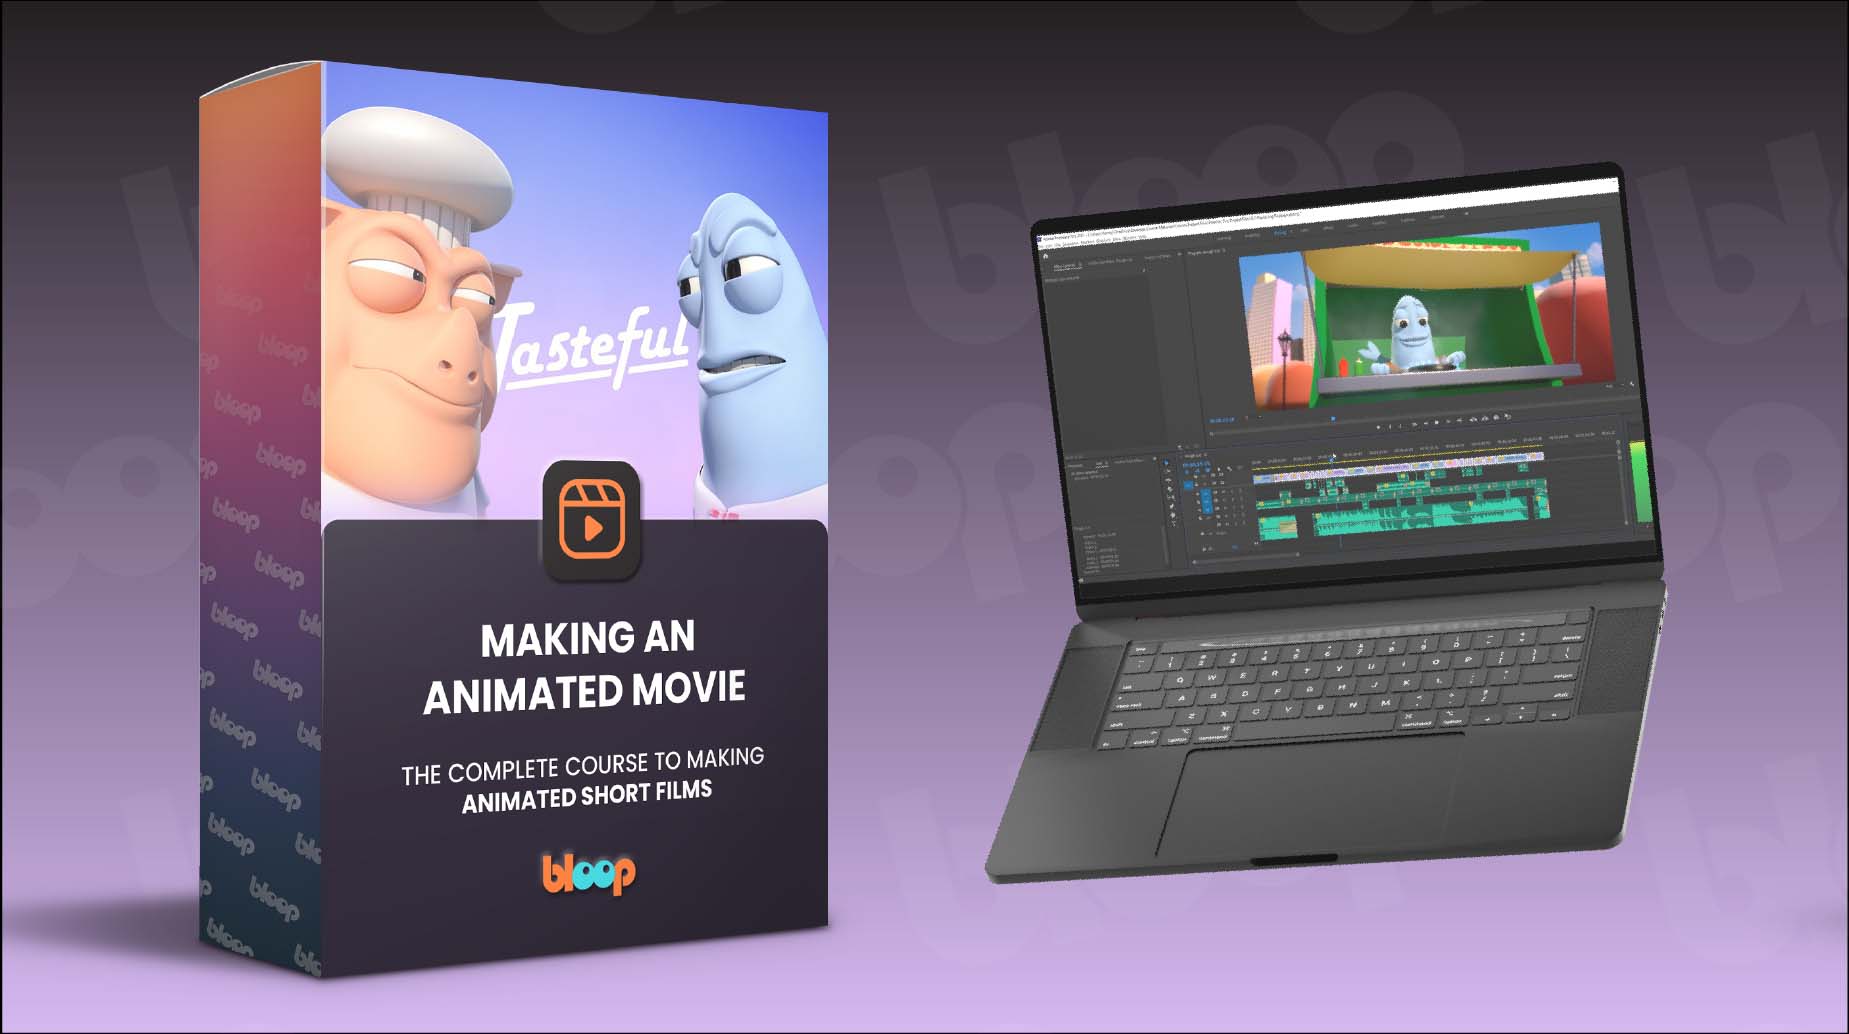
Making an Animated Movie course
Watch the complete 30 video lessons course about the process of making animated short films from start to finish.
We've designed this course to be tailored specifically for aspiring animation filmmakers interested in making taking their first steps to making their own movie a reality.
The 6 steps of animation
We've talked about the workflow of the animation filmmaking pipeline, now lets go into the actual steps of character animation.
Here are the 6 steps of animation:
- Shooting reference video
- Key posing
- Blocking
- Splining
- Smoothing
- Adding life
Step 1: Shooting Reference video
This is a very important and overlooked step. It’s weird how people really think they know what certain actions look like, and how long they take, but end up getting it wrong.
Physical actions are something you need to analyze before animating, especially if you’re a beginner.
You have a shot of a guy throwing a baseball? Search YouTube for videos of pitchers throwing balls.
Don’t assume you know what an action looks like just because you’ve seen it before.
Looking at an action as an animator is completely different from looking at it as a viewer.
Step 2: Posing
After shooting a reference, it’s time to create the key poses of the shot.
These poses are called key poses because they are the most important poses of the shot. These are the poses that convey the story of the shot. We need to make sure we get those poses right, because we’re going to build on those for the rest of the process.
Step 3: Blocking
Once we’re happy with our key poses, we start breaking down the movement from each pose to the next by adding ‘in betweens’ (also known as breakdown poses or passing poses). These are the poses that connect the key poses.
We keep adding more poses until the movement looks as good as it could, while still staying in stepped mode (stepped mode is when you don’t allow interpolation between poses, which results in a very choppy/blocky motion).
Step 4: Splining
Splining is a 3D animation term. It’s the process in which you convert the interpolation of the keys from stepped to spline.
In other words – you make the computer connect the movement between each of your poses, and that makes the movement look smoother.
The problem is that the computer doesn’t do a very good job at interpolating. It only works with what it has. That’s why the better the blocking is – the better the splined version is going to look.
Step 5: Refining & offset
Now that all of our keys are in spline mode, we need to work on them. We refined the animation curves and make sure the movement looks smooth.
It’s also a good idea to offset some of the actions so it doesn’t look so ‘stop and start’, as if the character is doing all the motion at once.
By the end of this step your shot should look pretty solid and almost finished.
Step 6: Adding life
This step is the a lot of fun.
We're already finished with the grunt work of animation, and it’s time to add small imperfections that bring life to the character.
Maybe an extra blink or a mouth twitch here and there. The difference between the last 2 steps is small but it could make the difference between good animation and great animation.
Animation Software
After "Where do I start", the topic I'm asked about the most is probably software. Everyone wants to know about tools.
Is it Maya? After Effects? Flash?
Here is a break down our options when choosing an animation software based on the type of animation:
3D Animation Software
This is a beginner's guide, so 3D software might be advanced for some of you, but I think it's important to be familiar with what's out there so you know what the industry uses and what you should consider pursuing if you plan to make this your career.
Having said all of that, Blender is a free program, so you're welcome to jump in and play around with it (with the help of our Blender course), and Maya offers an educational license for free, so if you're just learning you'll be able to get started without investing any money just yet.
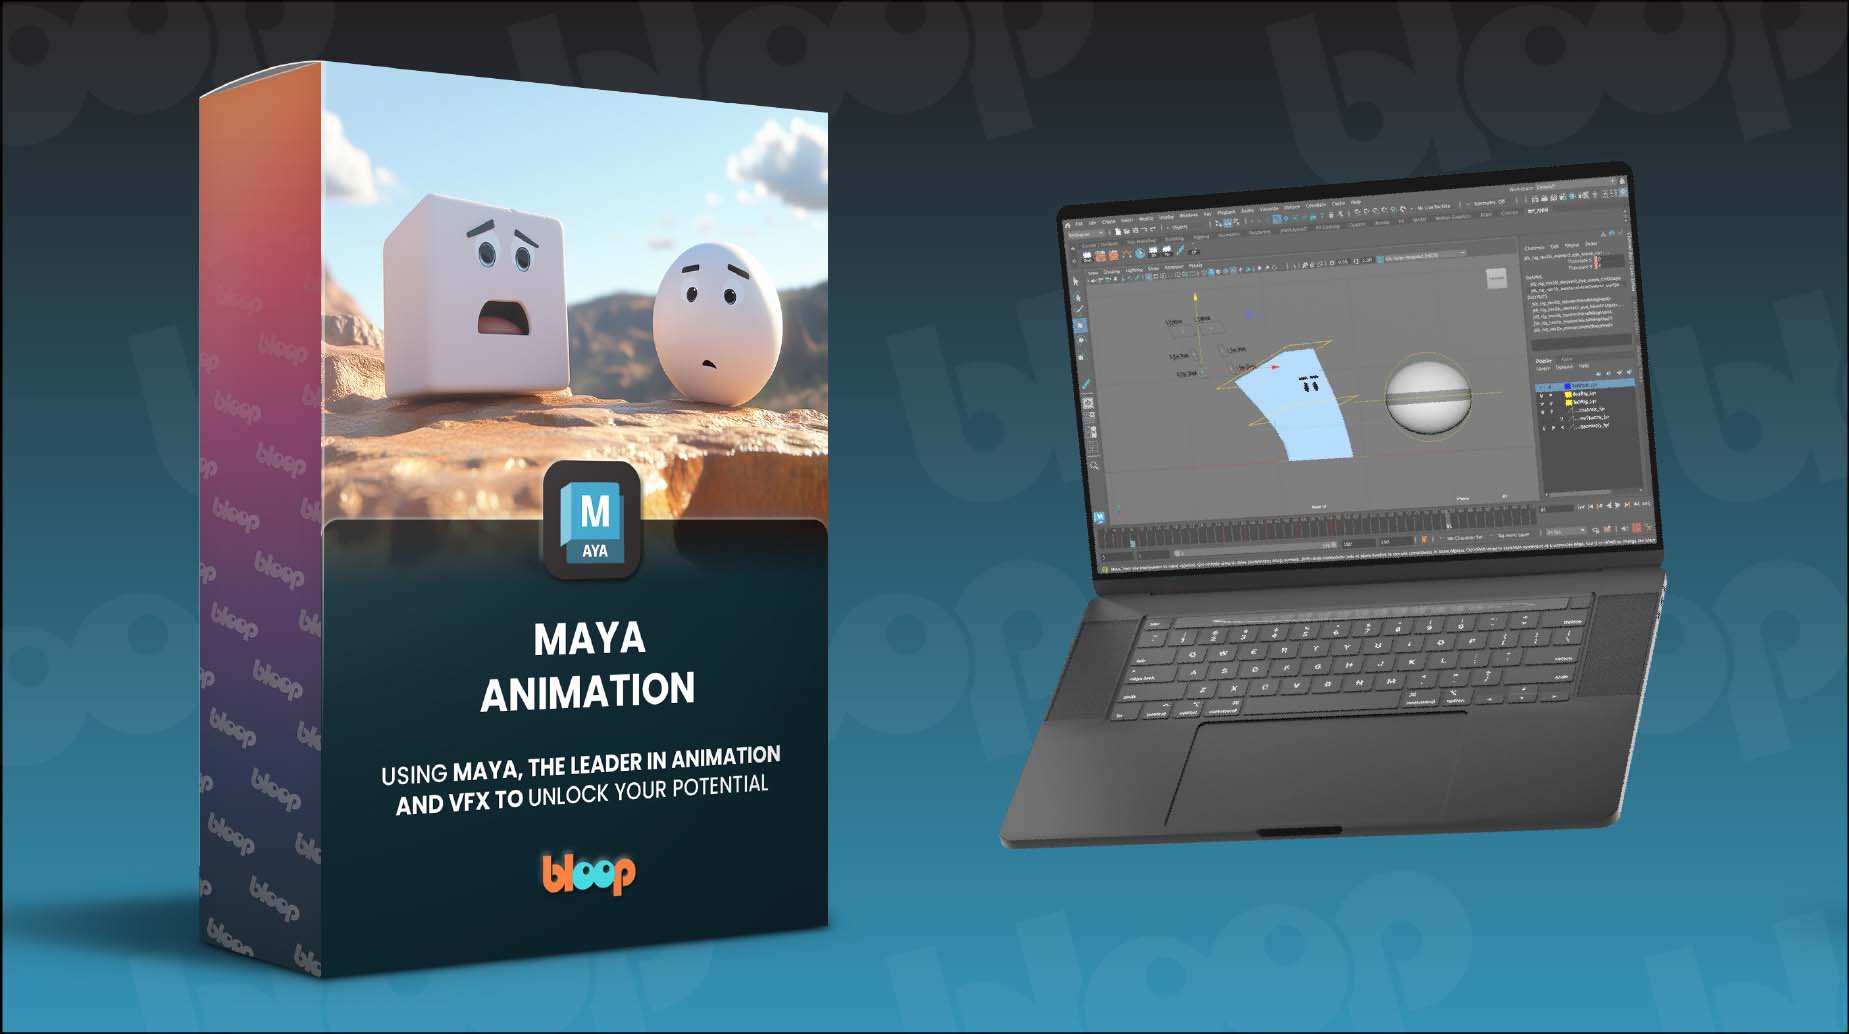
Autodesk Maya
The industry standard for computer animation. If you want to do animation professionally, this is the program you should focus on. 3D animation, modeling, simulation, and rendering software with an integrated, powerful toolset. Use it for animation, environments, motion graphics, virtual reality, and character creation.
Price: $195/Month | Free for students
Blender
A free, open-source, 3D program, Blender provides a broad spectrum of modeling, texturing, lighting, animation and video post-processing functionality in one package. Through its open architecture, Blender provides cross-platform interoperability, extensibility, an incredibly small footprint, and a tightly integrated workflow.
Price: Free
Cinema 4D
Cinema 4D is a motion graphics artist’s best friend. It is a 3D program for the After Effects user. Very intuitive, and works directly with After Effects without the need to render first. This would not be my first choice for serious 3D film production, since it is designed from the ground up with motion graphics in mind, but it is an amazing versatile program.
Price: $59.99/Month
2D Animation Software
2D animation is a great place to start your animation journey. Most of the programs below are inexpensive and relatively easy to learn.
Animate CC and After Effects are great choices for playing around with 2D animation in both a hand-drawn form or by creating puppets, while Character Animator doesn't require any drawing at all, and uses your face as the driver for the animation. And if you wanna go pro, Toon Boom Harmony and TVPaint will be your best options.
Animate CC (Formerly Flash)
Probably the most popular 2D animation software out there. Animate has a long lineage of animation making, dating back to the early days of internet video publishing. Its intuitive interface and relatively cheap price point make it a great pick for getting started with 2D animation.
Read: Toon Boom Harmony vs. Flash (Animate)
Price: $20.99/Month
Toon Boom Harmony
Harmony is a more advanced 2D software ideal for both frame-by-frame animation and rig-based animation. It has advanced rigging systems, effects and camera tools. It is vector based, but the more advanced version also has the option for bitmap drawing.
Read: Toon Boom Harmony vs. Flash (Animate)
Price: $24/Month
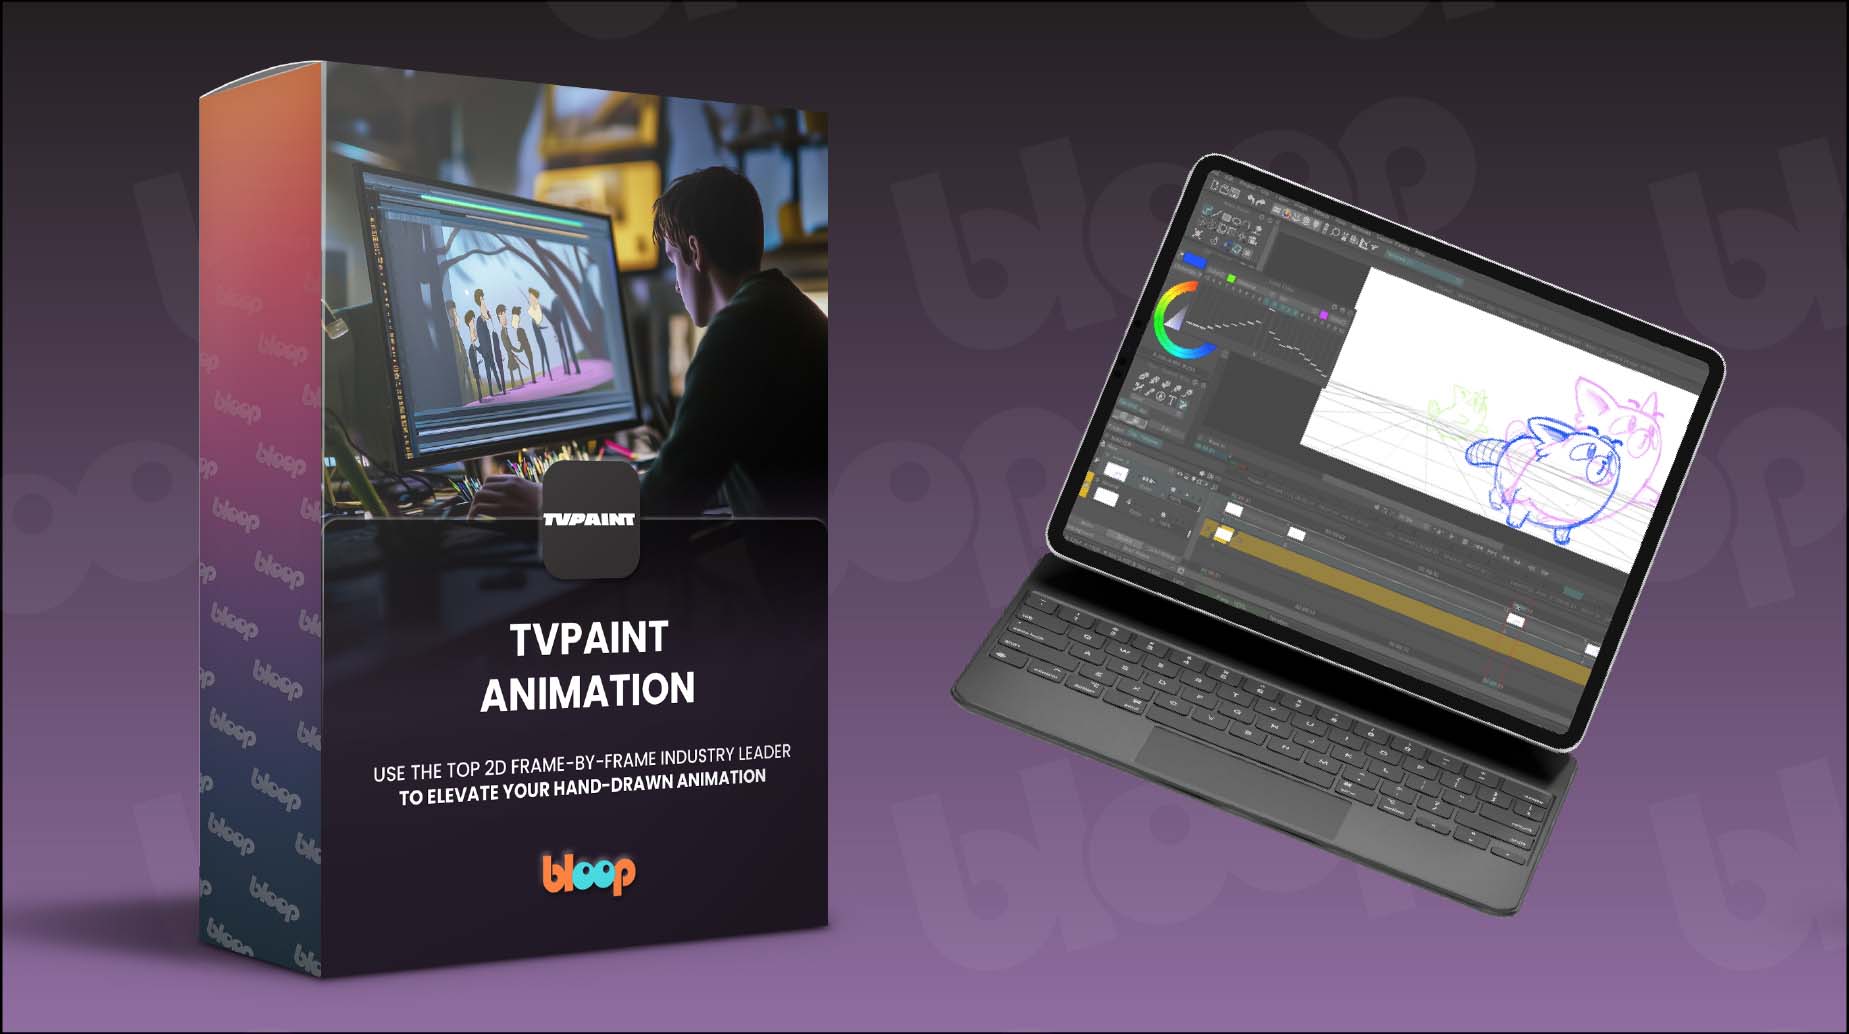
TVPaint
A french animation software, TVPaint is the all-in-one 2D animation software you’ll ever need. It’s definitely more robust and complex than Photoshop, but it’s also much pricier. This software is for professional animators and studios.
Price: €500 (€250 for students)
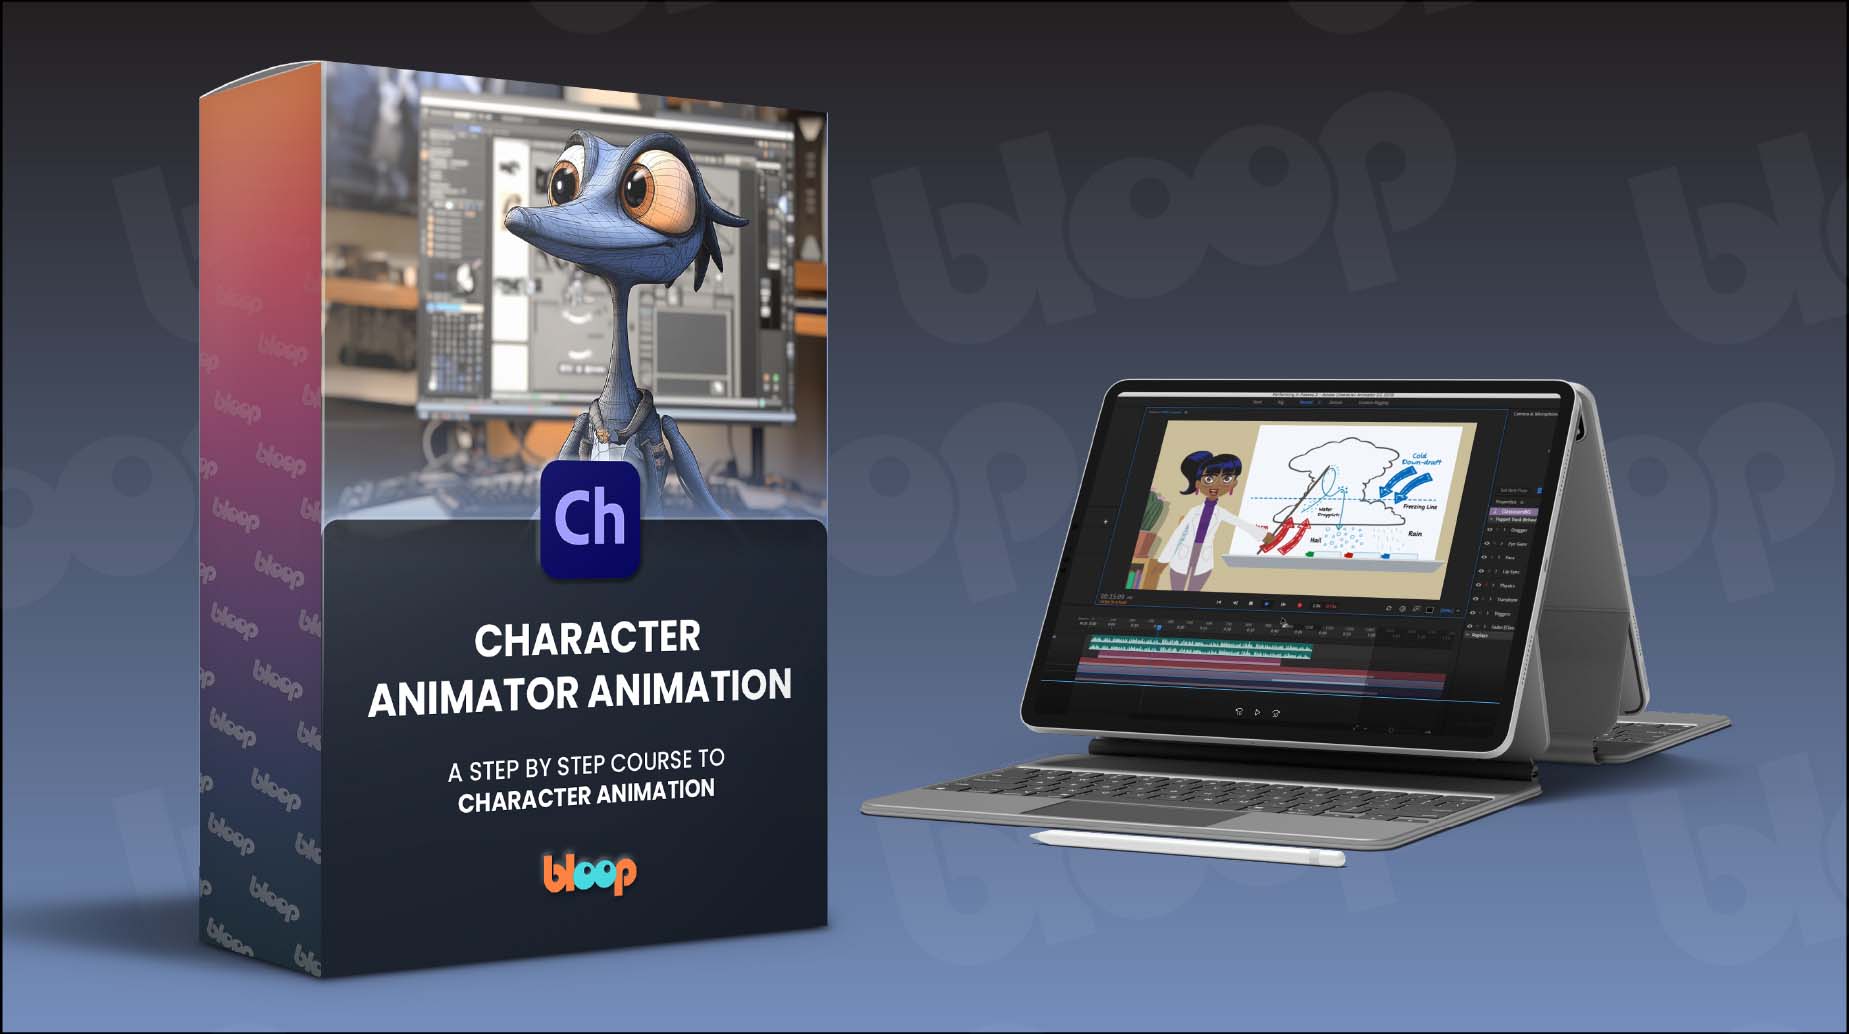
Character Animator
A newer animation program with an interesting twist. Instead of animating the traditional way, Character Animator uses you use your web-cam and microphone to automatically animate a pre-built character in real-time, almost like motion-capture. This is a great option for beginners since it requires the least amount of animation experience.
Price: $20.99/Month
After Effects
An interesting choice for 2D animation. After effects gives you great control when creating rigs for 2D using the puppet tool and different expressions. It's a good choice if you’re already comfortable with the Adobe environment.
Price: $20.99/Month
Stop-Motion Software
Stop-motion is how many young aspiring animators get their first animation experience, using action figure, legos, or even clay.
We listed 2 very different options here. One aimed at beginners who are trying animation for the first time, and the other is a prodessional-grade animation software aimed at taking your work to the next level.
Dragonframe
Dragonframe is the industry standard for stop-motion animation, and was used on films such as Kubo and the Two Strings and Shaun the Sheep.
If you’re planning on making a professional stop motion video, Dragonframe is the best tool for the job. Its comprehensive software can be used with many different attachments, such as a device that controls the camera, lights and even pull focus.
Price: $295
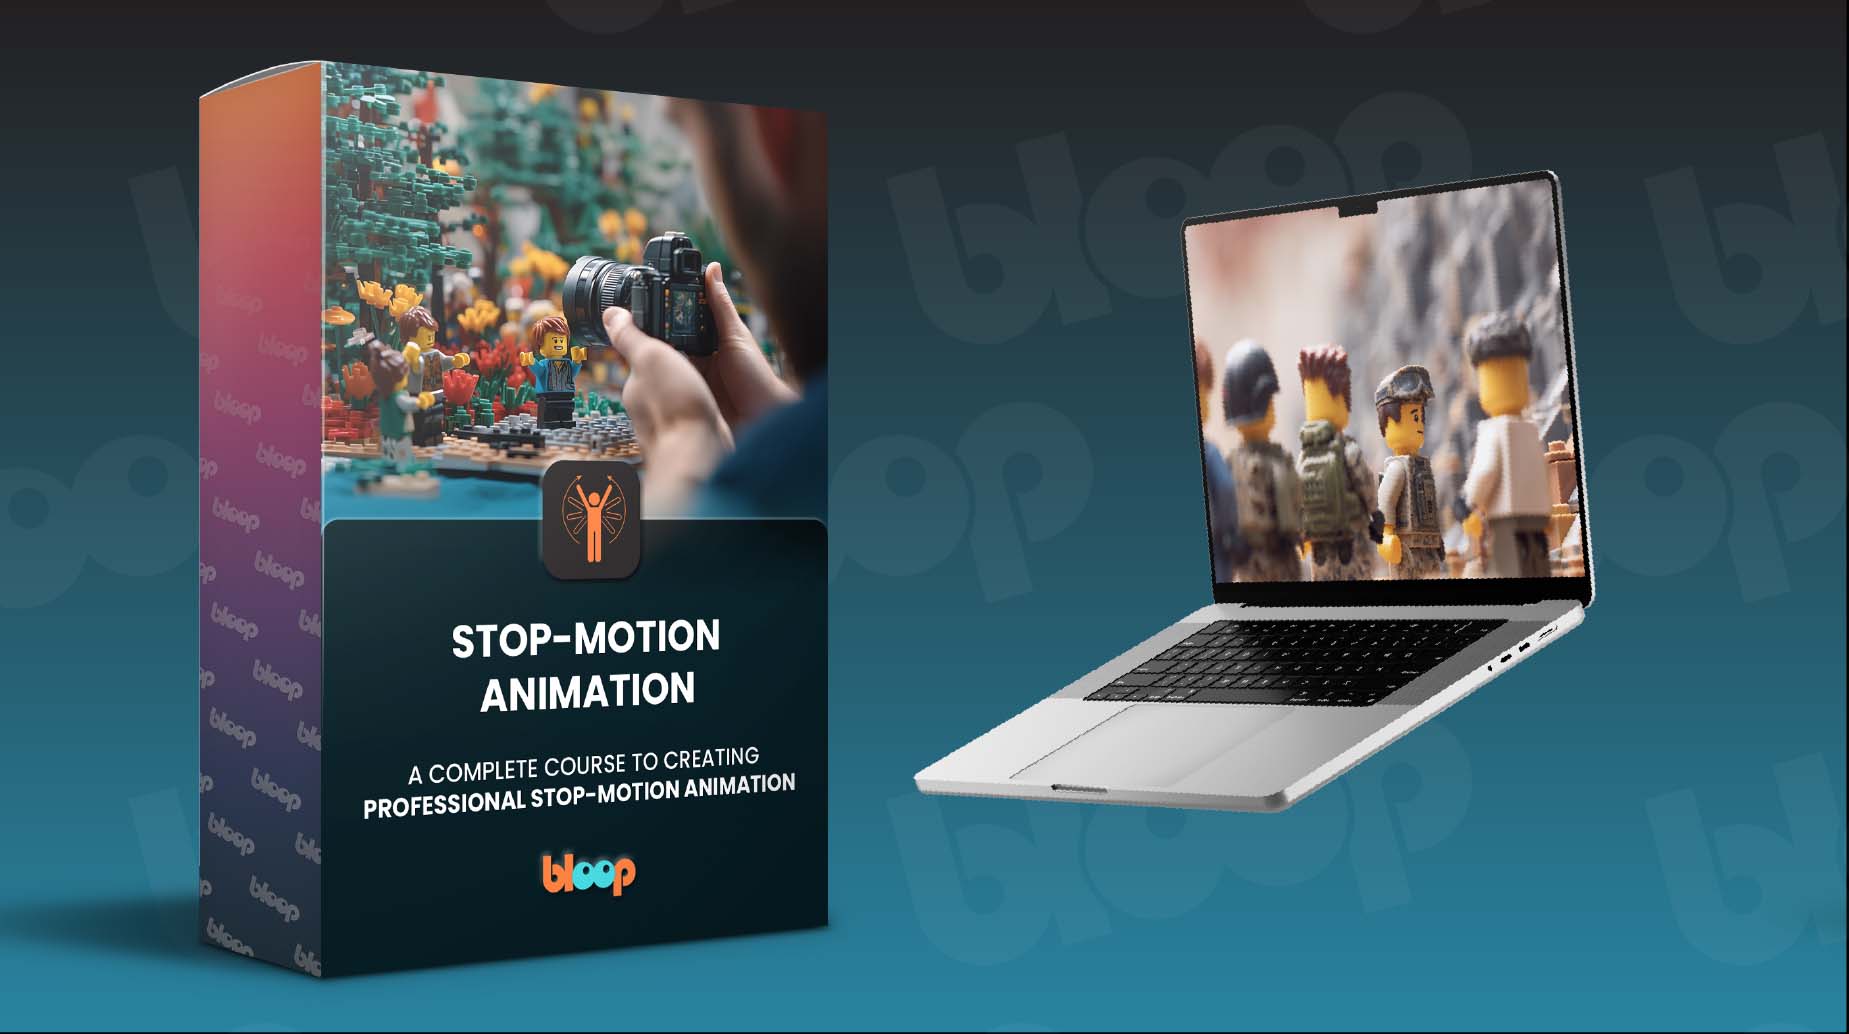
Stop Motion Studio
Stop Motion Studio is an entry-level stop motion app for all devices and platforms that connect to any digital camera, phone or tablet to create great stop-motion videos with simplicity and ease. This is a great choice if you're just starting out.
Price: $4.99 (iOs/Android) | $9.99 (Mac/Windows)
Animation Hardware
Hardware is getting cheaper, and software is getting more efficient. You can run most animation programs on most modern computers, and drawing tablets are getting very affordable.
Here is a short list of what we recommend for animators of all levels:
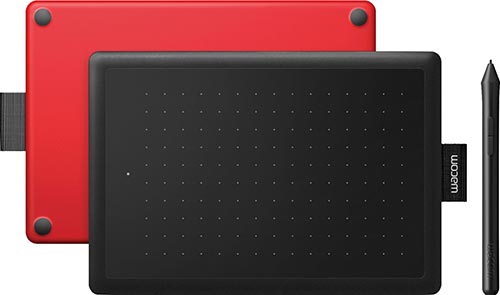
One by Wacom
The perfect choice for beginners.
This intro-level Wacom tablet is the cheapest way for you to get into using a tablet. This allows you to do hand-drawn animation on a budget, and will benefit 3D animators as well, as tablet is often easier to use than a mouse in a 3D program.
Price: $59-$69
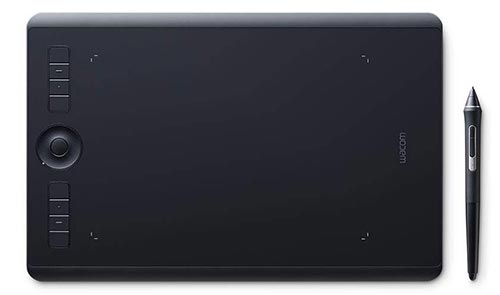
Wacom Intuos Pro
Taking it to the next level.
If you need more drawing real-estate, or if you're using a tablet for 3D animation, this is the best all-around choice for the job. You'll see these tablets at most production studios, and it's a popular choice for animation students who want to do good work, but can't afford the high-end Cintiq tablets. It comes in 3 sizes, with Medium being the most popular one.
Price: $230-$479
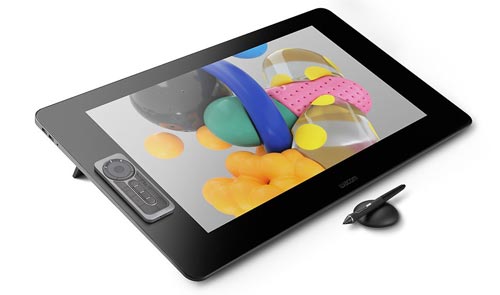
Wacom Cintiq Pro
Going pro.
For high-end animation production, the Wacom Cintiq is the ultimate choice. It's basally a giant monitor (13", 16", 24" or 32") that you can draw on directly. It makes precise drawing much easier and more responsive than a regular tablet, but it comes at a much higher cost.
Price: $649-$3299
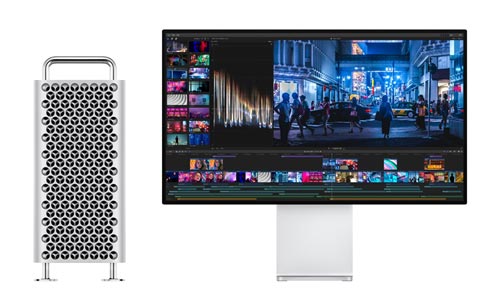
Computer
The nice thing about using 2D programs like Animate CC or even Toon Boom, is that most modern computers are capable of running them just fine.
When you get into 3D, things can get tricky, but they don't have to. If you're rendering massive worlds with complicated lighting setups, you'll need a strong computer with an expensive graphics card, but there are other options:
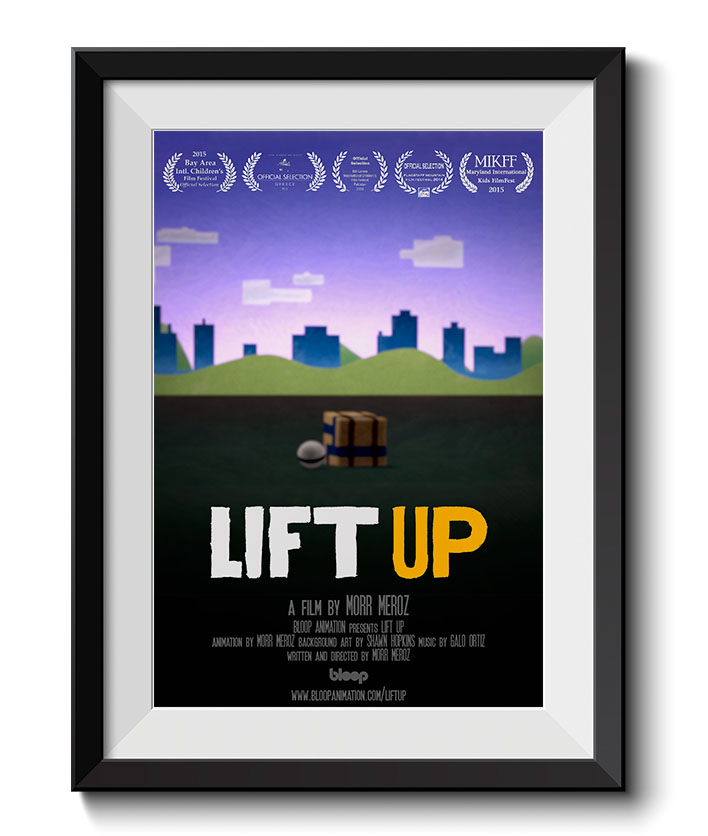
- You can do most of the compositing in Nuke like I did for LIFT UP.
- You can use a render farm like we did for Tasteful.
Animation Books
Different arguments could be made for which is the best book for learning animation, but here are a few that will help you learn and refine your skills, regardless of the type of animator you want to be.
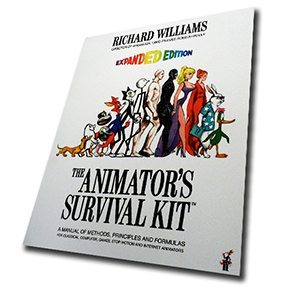
The Animator's Survival Kit / Richard Williams
This book is an animator's bible. It thoroughly covers the basics of spacing, timing, walks, runs, weight, anticipation, overlapping action, takes, stagger, dialogue, animal animation and much more. It's not called a "Survival Kit" for nothing.
This book will teach you EVERYTHING YOU NEED TO KNOW to start your training as an animator.
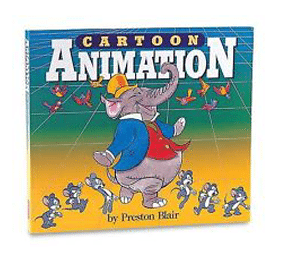
Cartoon Animation / Preston Blair
Originally released in 1994, Cartoon Animation (also known as "The Preston Blair Book"), has been an amazing reference source for creating cartoon-style animation.
With this book you'll learn how to develop a cartoon character, create dynamic movement, and animate dialogue with action.
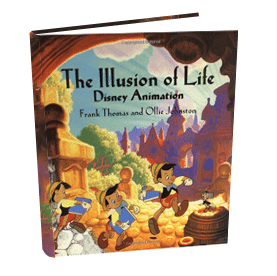
The Illusion of Life / Frank Thomas and Ollie Johnston
This book started as an animation guide and turned into a detailed survey of the progression of animation, both within the Disney studios and in the world of animation in general.
Written by two of the nine old men who defined the Disney animation style, this book takes the reader through all the steps of discovery and research of the best methods of animation.
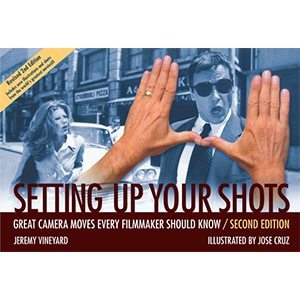
Setting Up Your Shots / Jeremy Vineyard
A great book for getting a basic understanding of shot composition and camera movement for better storytelling and filmmaking.
This book is great for first-time filmmakers as well as experienced ones looking for great shot references.
Animation Courses
Bloop Animation is first and foremost an animation learning platform with premium video courses. Some focus on software (like Maya or Animate CC) while others teach you specific skills (like animation foundations or storyboarding).
Online courses have become insanely popular in recent years, and are now highly-produced, and a very effective alternative to traditional schools.
Why?
It’s cheaper. Much cheaper.
Art schools are insanely expensive. Spending 20-40k dollars a year (most likely getting into debt) is a huge decision, and it’s getting less and less valuable.
Online courses, even the expensive ones, will only set you back a few hundred dollars (maybe a few thousands if you’re doing an online certificate program which takes several months). That’s not close to how much a traditional art college costs. This makes it much more accessible for a wide range of artists who in the past would have to give up on their dreams, or borrow a ton of money.
It’s a great test-drive
Maybe animation isn’t for you? Wouldn’t it be great to find that out before spending tens of thousands of dollars + precious years of your life?
Taking an online animation course is a cheap and efficient way to check if you’re up for the task. See if you like it. You can always decide to pursue a degree after the fact, but this is a great way to do your research and make sure going down this path is right for you.
You don’t really need a degree anyway
One of the benefits of working in a creative industry like animation is that your work speaks loudly than any credential in your resume. If your demo reel is good – you will be hired. No one will care what school you didn’t go to.
You can take them while working
A great thing about online courses is that you can take them on your spare time.
If you’re transitioning from a different profession and work full-time, you can take these courses on the weekends, evenings and lunch breaks.
You can customize your own learning path
One of the awesome things about online education is that you can combine sources from different places.
In a traditional school you have to stick to the program (usually 3-4 years) and often take a lot of courses you have no interest in, or that don’t really contribute to your personal growth path. With online courses, you can construct your own learning path.
Yes, our courses do include a constructed path for you to follow, but it’s only made out of things you NEED to know to animate, and nothing else. Plus, you can always skip a lesson you find it irrelevant.
It’s a great way to maximize your education
Online courses can benefit you WHILE being a student in a traditional program.
When I went to art school I CONSTANTLY looked for online tutorials (online courses weren’t as popular back then, but there were still a few) and watched whatever I could get my hands on.
Doing that while at school really pushed my skills and motivated me to work harder and get better. School can only take you so far, and it will guide you in the right direction, but it’s up to you to make sure you push yourself to master your craft.
Here is the complete list of our video courses:
Video Courses


Getting into the Animation Industry
So how do you take the next step? What if you want to make animation your career?
How do you get your foot in the door?
Animators generally need 3 things to get a job in the industry:
- A resume.
- A solid demo reel.
- A portfolio website with your own domain. Non of that john.wordpress.com crap. Check out these great Wordpress templates to make your life easier.
For many professions, having a good resume or cover letter is the most important factor in getting a job. For animators and visual effects people it’s all about the demo reel.
Over the years I have made many demo reels for myself, and watched dozens of other people’s reels. Before you start sending your reel to a bunch of studios, I beg of you, read our demo-reel guide. I have collected a ton of information about how to create an effective animation demo reel that actually gets you hired. Don't skip it.
So I have a demo reel. Now what?
Since I don't know you personally, I'll give you the best advice I think would benefit most people: The best way to get noticed is to create things.
Having a BFA in animation or a diploma from an online school will definitely help, but it won't guarantee a job after graduation.
You know what I did the day after graduation?
Continued animating for my reel. And that's what I did everyday until I got my first freelance work. And then after work kept working on more shots so I'll be ready for the time the freelance project was over.
You need to keep making. Always.
There's always enough time to work on your reel, especially in the first year of your animation career. When you add stuff to your reel, make sure you follow our Demo Reel Guidelines so you don't waste your time.
If you keep creating things and putting them out there, while constantly applying to studios, you will eventually get noticed, and hired.
Career paths for animators
Film / TV
The most obvious career path (though not the easiest) is working on movies and TV shows (Disney, Pixar, Nickelodeon, Cartoon Network etc.)
Even though the most common perception of what an 'animator' does is animating characters like Wall-E or the dog in Up, a lot of animation work in this industry happens in VFX and mechanical animation in live-action films as well. Almost every effect-heavy live-action film you see uses animators to some degree.
Most of the work in the film and TV happens in California, and getting into the major studios might take years of applying before getting in the door.
Commercials
Working in commercials takes a different set of skills than film and TV. Though you might still be animating characters, the timeline of production is much quicker, and you would be expected to do more different tasks rather than specialize.
Also, =commercial work will often be motion-graphics rather than character animation. That means knowing After Effects and/or Cinema4D is more relevant if that's your path.
Animating on commercials might not be what you went to become and animator for, but it can still be a lot of fun, and there is much more work to be had, and locations are almost a non-issue, since most major cities have production companies producing commercial work to some degree.
Pre-visualization (Previz)
A less known field for animators is previz work. Previz animators create a pre-visualization of the piece (commercial, movie, etc...) by animating temporary figures in a mock environment to allow the director get a sense of their shots and composition.
You'll be surprised how many studios and production houses use previs, and some companies are dedicated to only create previs for different productions.
With the massive growth of the use of previz in both commercial, TV and film, previz animators can get work in a multitude of fields and locations, though as an aspiring animator you might not get to do your best work (since animation has to be done quickly and quality isn't much of a factor) and your work will not actually be seen by an audience.
Video Games
The video game industry is massive and there is a lot of work for animators in it. The work itself varies greatly from motion capture to full character-animation, to creating animation cycles that loop throughout the game.
If you've even played a Blizzard game, or watched some of the cinematic pieces from Final Fantasy games, you know that video games produced some of the greatest pieces of animation, and pushed the technology just as much as films did. Working in this industry could be a lot of fun, and it employs animators in both 3D and 2D and offers a great variety of work.
Motion Graphics
I've mentioned motion graphics when I wrote about working on commercials, but motion graphics artists work on a much wider verity of projects. From explainer videos to event projections to software UI demonstrations.
Motion graphics life is often the life or a freelancer, jumping from one project to the next, using mostly After Effects (sometimes in combination with Cinema4D)
Independent
A new rising type of animator is the independent animator. They mostly use YouTube as their main platform and make their living through ads, sponsorships and merchandise, and ore and more of these animators surface all the time.
Other animation filmmakers can use crowdfunding to fund their movies, or get studios to fund their films on an indie budget.
Director
Unlike most jobs, there’s no clear path to becoming a director.
Going to film school does not guarantee a directing job after, and there’s rarely a job opening under “Director” online. Some people get there at 21, and some spend their whole life trying and never make it.
The same goes for being an animation director. Some start out as animators, some story artists (storyboarding) and some transition from live action, never having animated a day in their life.
How does, then, one becomes an animation director?
Animation directors like Andrew Stanton, Richard Williams and John Lasseter were animators before they became directors, and it’s probably the more common way to go about it, since animators are very involved in the storytelling aspect of the film.
So the path would be:
- Get hired at a big studio like Disney.
- Moving up the ranks until you become a director.
But, of course, it's not that simple.
First, you will be working as a junior animator for many years, and it will probably take you almost a decade to get to a place where someone would even consider making you a director. And even then, the chances are close to zero.
To me, the path of working as one of hundreds other animators for 10 years, just for the chance of maybe being noticed, doesn't seem like a very safe path.
What I did instead, was create a little cube and a little ball, and made my own film. And then I made another one. And I’ll probably keep going.
So guess what? I became a director. Nobody officially gave me the director’s license, I just made movies. And that’s the only certain thing I can tell you about how to become a director – start making movies.
Ok so I need to make my own films, now what?
If you’re going to chose the director’s path of making your own films, I suggest starting with short films. Making a feature film is a goal that might take a very long time to achieve, and is not a realistic goal for animation if you’re just starting out.
As for what your films should be about, I suggest keeping to super-simple characters/environments, and focusing on a good story.
When I started working on Lift Up, the story itself came from my limitations of not having good modeling skills. That’s why the film is about a cube and a ball. If you wanna read more about it in detail, read our complete guide for making an animated short. It’s free.
Focus on storytelling skills
The skills of being a good director are mostly about being a good storyteller, as well as understanding pacing, composition and acting. These are all skills that a good animator should have as well, so if you’re coming from animation it might be easier for you.
Focus on showing off these skills in your short, showing interesting compositions and cinematography. These are what people are looking for in a director. Not fancy renders or complex modeling – but good storytelling.
Remember – no one can make you a director. It has to come from you.
Tools and Resources
Getting Started with Animation
- The 5 Types of Animation: This guide breaks down the five different types of animation available to you, and what you’ll need to start animating. Best software, best schools, and more.
- Best Animation Schools: A curated list of the best animation schools in the world.
- Animation Studios: A detailed guide to the best animated film production studios
- Animation Software - Which One Should You Use: A break down of the options you have when choosing your animation software.
- Why You Don't Need to Know How to Draw to Be a 3D Animator: You have no excuses anymore!
- Switching to a Wacom Tablet for 3D Animation: How to make the switch to animating in 3D using a tablet instead of a mouse.
- Start Animating Now with Less than a $100: In this article I show how you can start animating like a pro with less than a $100.
How to Make an Animated Movie
- The making of Tasteful: All the steps behind making the film, from start to finish, explained as simply as possible,
- The making of LIFT UP: All the videos documenting the making of LIFT UP in one place.
Building Your Portfolio
- Creating an Animation Demo Reel - The Complete Guide: For many professions, having a good resume or cover letter is the most important factor in getting a job. For animators and visual effects people it's all about the demo reel.
- Lighting and Rendering your Animation Demo Reel: A video tutorial covering a basic lighting/rendering setup to make your demo reel shine.
- Creating a Portfolio Website: Our step-by-step guide to creating a professional portfolio website from scratch.
- How to Install a Wordpress Theme for your Portfolio Site: A step by step guide to installing a Wordpress theme.
- Best Wordpress Portfolio Themes: Having your own website to show off your work is extremely important. One of the easiest ways to set up a portfolio website is using Wordpress Themes.
- Why Make a Second Film: If you've already make one films, here's why you should start working on your next one.
Rigs
- Bloop's Ultimate Ball Rig: A Free Squash and Stretch Scalable Bouncing Ball Rig For Maya.
- Best Free Maya Rigs: Using free rigs is great for animation exercises or for adding shots to your reel.
Inspiration
- What I did After Graduation: My graduation story and all about how I picked myself
- 5 Reasons You Won’t Be an Animator: If you need a little push, read this.
- What Ratatouille and Monsters University Taught Me About Being an Artist: A thought provoking article about the lessons learned from 2 great Pixar films.
- Best Animation Documentaries: The most educational and inspirational films about the animation industry and its people.
Our Short Films
What's Next?
Now that you have finished reading this (very) long guide, it's up to you.
No more excuses. Go make something awesome. You know where to start.
- Morr Meroz