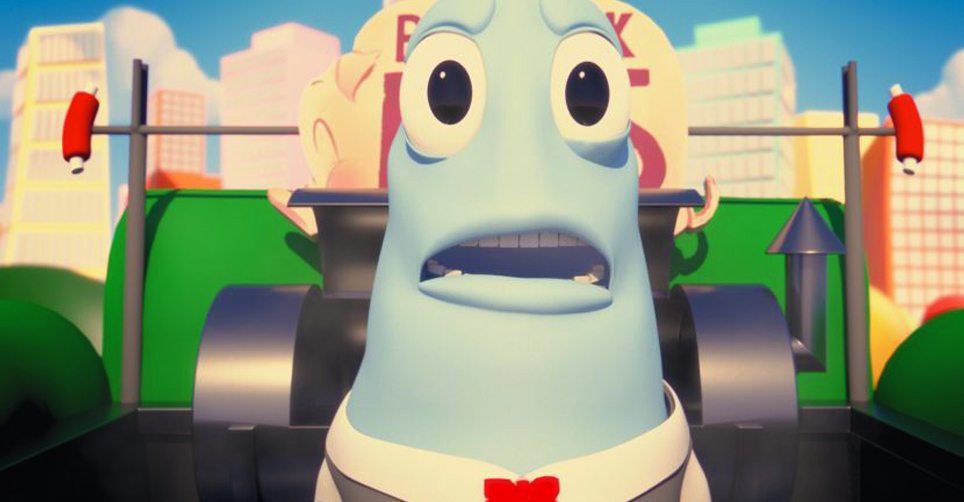
In the past few weeks I’ve been finishing the rendering and compositing of Tasteful, if you follow me on Instagram you probably saw frames I posted here and there, but let’s go deeper into exactly how I rendered the film.
What render engine did I use? How did I structure my render layers and shaders? What about how I ended up using a render farm for a large portion of the rendering? Here are all the details.
Rendering engine
So let’s jump into the technicals. As you probably know, like my previous 2 films, I made this one entirely in Maya. After considering different rendering engines, including Maya’s own Mental Ray, Andre, our lighting and rendering guy convinced me to try Redshift, which is a GPU-based render engine.
What I found appealing about this engine is that I basically only needed to make sure I have a good graphics card. This could be a cheaper solution compared to a high-end processor. It also meant I had a good reason to make my computer awesome for gaming, but that was just a bonus.
I got a GTX 1080, which is not top-of-the-line by any means, but still a great card. My renderings were not too bad, taking anywhere between 10 to 30 minutes per frame.
Shading
We basically used 5 different shaders for all the objects in the film. One was our default material, which we used for most of the objects, one that is like the default but with a little bit of reflection, one that is much more reflective, for more of a plastic look, one for metals and a subsurface-scattering one for the skin.
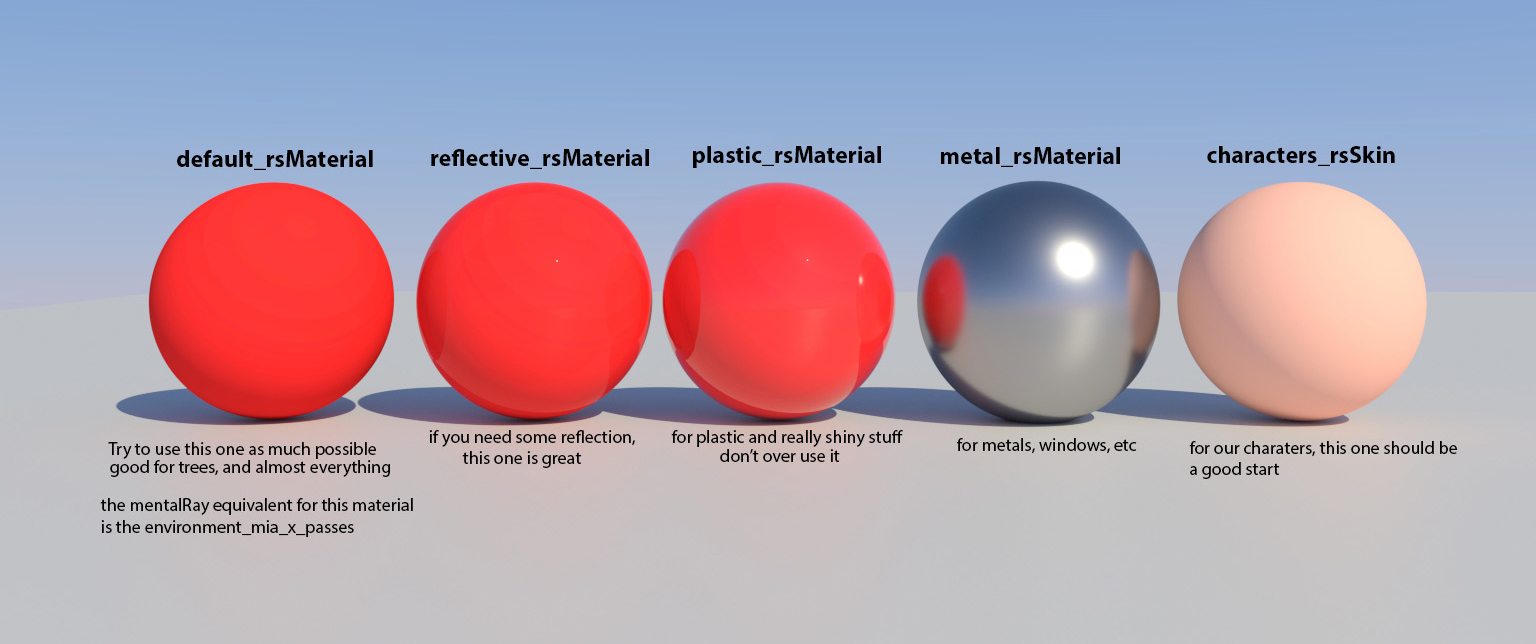
Now, even though many of our characters didn’t really have skins, (but rather fur, feathers or scales) we used the skin material for all of those purposes. We weren’t really going for realism.
There were a few objects that needed different shaders, like the objects that needed some kind of texture (mainly the signs). For that I just used the default material with an image texture on it.
Then, all I had to do was take these 5 materials and assign them to all our assets using different colors. After that, our film was ready for lighting.
Lighting
We used a very basic setup, consisting of a main directional light, rotated to fit each shot depending on which way the character was facing. Sometimes we added another light if the shot took place in a dark location, like inside the food trucks.
In addition, we would sometimes turn off the cast shadow option on the trucks so that the light would come through, instead of having to deal with a very dark interior.
Rendering
I would usually split the shot into a background layer and a foreground layer, with an occasional third layer for cases in which an object was very close to the camera and needed its own layer.
The render passes we used were the usual suspects: Diffuse, global illumination, reflection, refraction, ambient occlusion, depth, motion vectors, normals, position, and subsurface scattering. We then took the EXR file with all the passes and import it into Nuke for compositing.
As for the rendering itself, I started out rendering by myself with my new GTX1080, and it was fine, but I realized it’s gonna take me way too long and waist a lot of time.
Using a render farm
I then remembered I was approached by Fox Render Farm about a year ago, asking me if I’d be interested in checking out their service. I had no need for it back then, but now that I was just sitting around waiting for renders to be done, I thought it might be a good time to check back with them to test out a render farm service for the first time.
These guys were super helpful, and while I should mention they did provide me with a nice amount of rendering credits to test out their service, they did not sponsor this post or expect anything in return. As you know, we do not do sponsorships. Since I really liked the service (and actually ended up paying for the reminder of the renderings) I wanted to tell you about the experience.
It was definitely a bit intimidating at first. The app seemed very complicated, featuring a ton of settings, but I then learned it’s because the program is meant to work with pretty much any software or plugin.
I was using Maya and Redshift so I had so set up a project with those settings, selecting the versions of the programs I was using. Then all I had to do was drag my Maya file into the app, wait for it to analyze it and start rendering about a minute later. The rendered images would then showed up in a folder on my computer.
It was quite magical.
If you’re still intimidated (which I definitely was at first) Fox Render Farm lets you hop on Skype to use their live chat help desk, so I did it. They talked me through all the steps until my rendering started.
While being a magical (and quick) experience, I should mention it’s not cheap, One complicated shot cost me about a $100, so make sure to take this into consideration when considering using a farm. In terms of time savings though, I was able to finish a render in about an hour that would have otherwise taken me over 2 days to do on my own. I chose to use it for the really heavy and long shots I had.
So are we done?
I’m happy to say that the renderings and compositing are both done, so I think it’s safe to say that the release date is very close. I hope to make the official announcement soon.
Making an Animated Short (FREE ebook)
A free ebook covering the process of making an animated short film from start to finish.