In this part of our Making an Animated Movie series I’m going to go over the 3D animation pipeline I follow when working on my films.
Having a simple and unified structure is extremely important when working of such a huge project, since you have to deal with so many parts and make sure they work together in harmony. If one part breaks, it quickly creates a domino effect that can complicate things very easily.
Again, as I often say, this is the pipeline I use, and it is based on my own experience. It is not a bible to be followed blindly, if you feel some parts are not relevant for you or that you have a better way of doing something, please work accordingly. Take only what you need from this.
I will also include a free demo folder that you can download and use for you project, or just check it out for future reference.
Watch this video and keep reading.
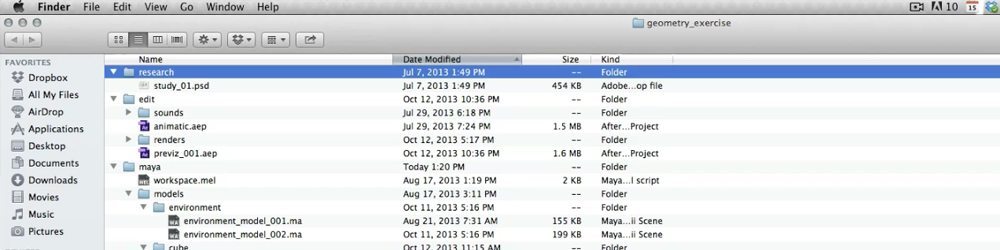
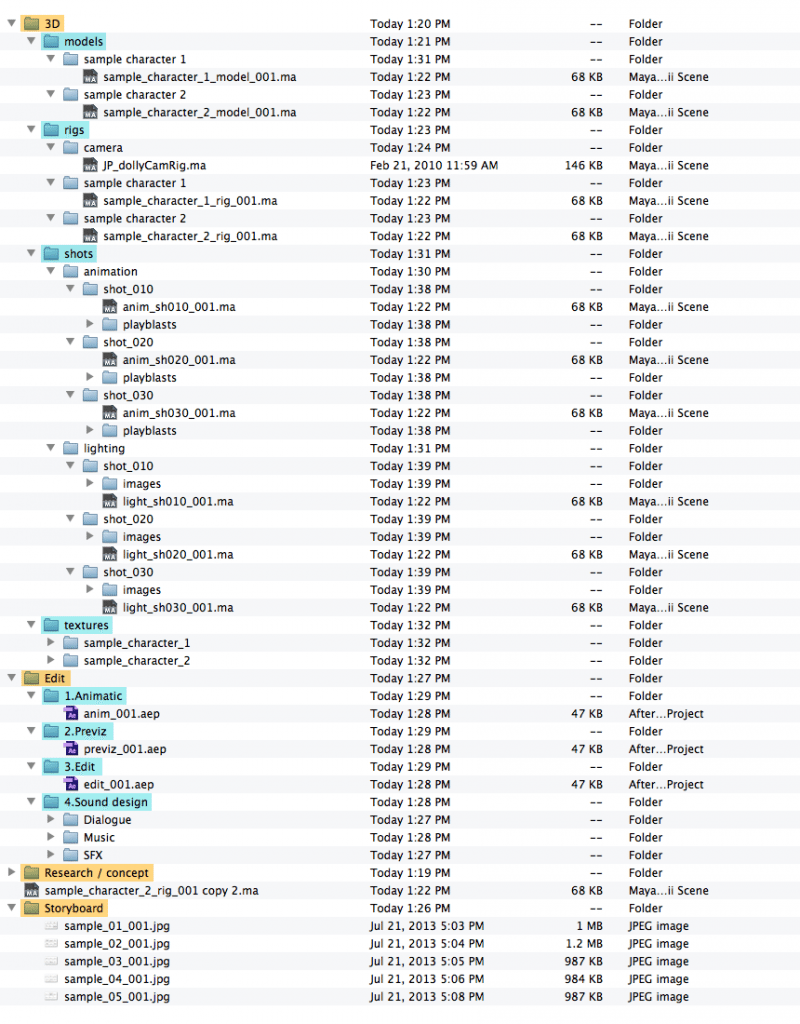
This is a screenshot of my demo folder structure (available to download at the bottom of the article).
A breakdown of my pipeline
Your ROOT folder
This is the main folder in which you include all of your folders. In this folder you should have the following 4 folders:
- Storyboard
Contains your storyboard drawings.
- Research
Contains your concept art, character designs, reference photos etc.
- Edit
Contains your edit file. This is the file you continue to update with updated shots. I call it an animatic at first, then a previz and then an edit.
(a sound folder should be here as well, containing (a) SFX (b) dialogue (c) Music)
- Maya (or any 3D software)
This is the folder that you set as your project folder (in Maya: file -> set project). It should contain the following folders:
- Models
- Rigs
- Textures
- Shots
The shots folder contain two folders: (a) animation – where you save all your animated shots, (b) lighting – where you reference your animated shots and add lighting.
If you want to learn more about character animation in Maya, check out our Maya Animation Course.
Making an Animated Short (FREE ebook)
A free ebook covering the process of making an animated short film from start to finish.