In this post I will breakdown the process of creating a previsualization (previz), by going over the previz I made for my own short film LIFT UP. I also included the finished previz for you to watch.
What is Previsualization (or – a Previz)
Previsualization is the process of making a stripped down version of your film before actually making it. Usually made within the 3D program, a previz is animated very basically, just enough to get the story across.
Why do You Need a Previz
In recent years, live action filmmakers have started making previsualizations before shooting their films, because it’s such a great way to see your shots before actually going out and shooting them. This could save a lot of time and money since you know if the scene is going to work ahead of shooting.
For animation it’s a necessary step. Animating takes so much time, that you wouldn’t want to waste days and days working on a shot only to find out later that the sequence doesn’t work. After storyboarding and making an animatic, previz is the last step before diving into full animation.
How to Create a Previz
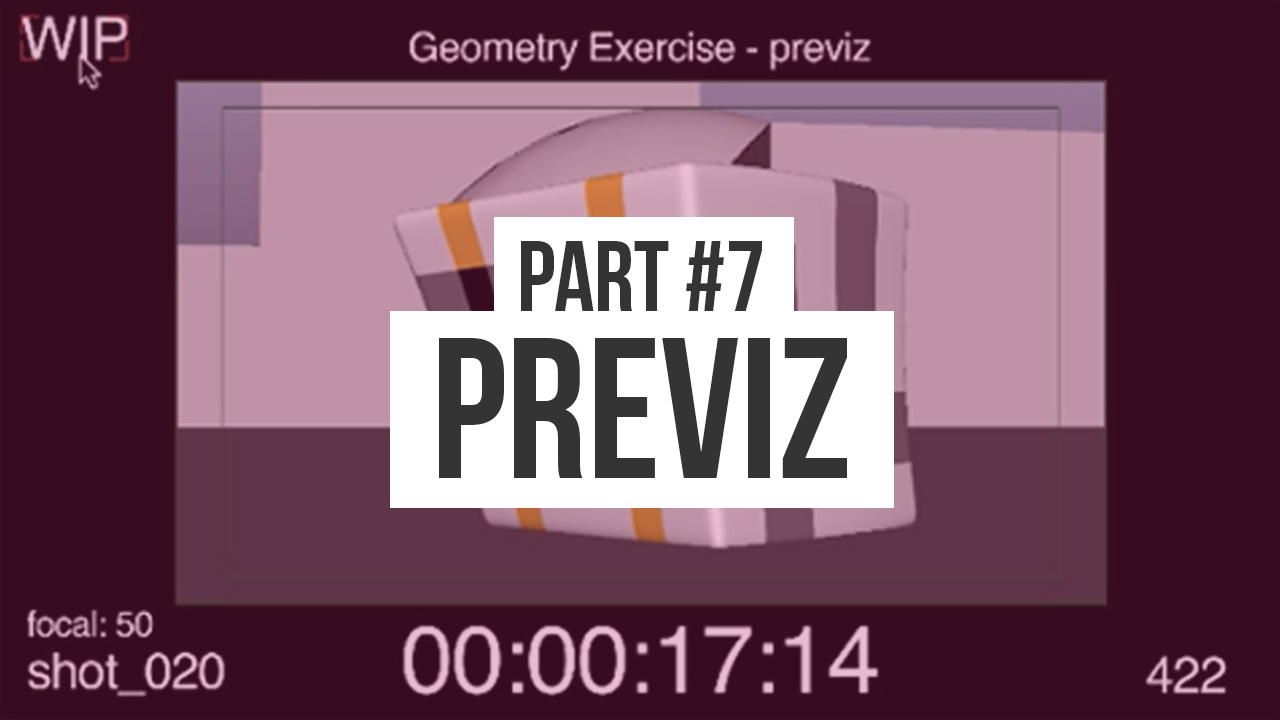
Watch this video tutorial or keep reading.
Previz Structure
There’s no one formula for the way a previz looks like, but I’ll share with you the way I do it.
It’s a good idea to leave space around your actual film for showing various information. I usually just scale down the video and add a black background in my editing program (I use Adobe After Effects / Premiere). Around the video there’s a few things I like to display:
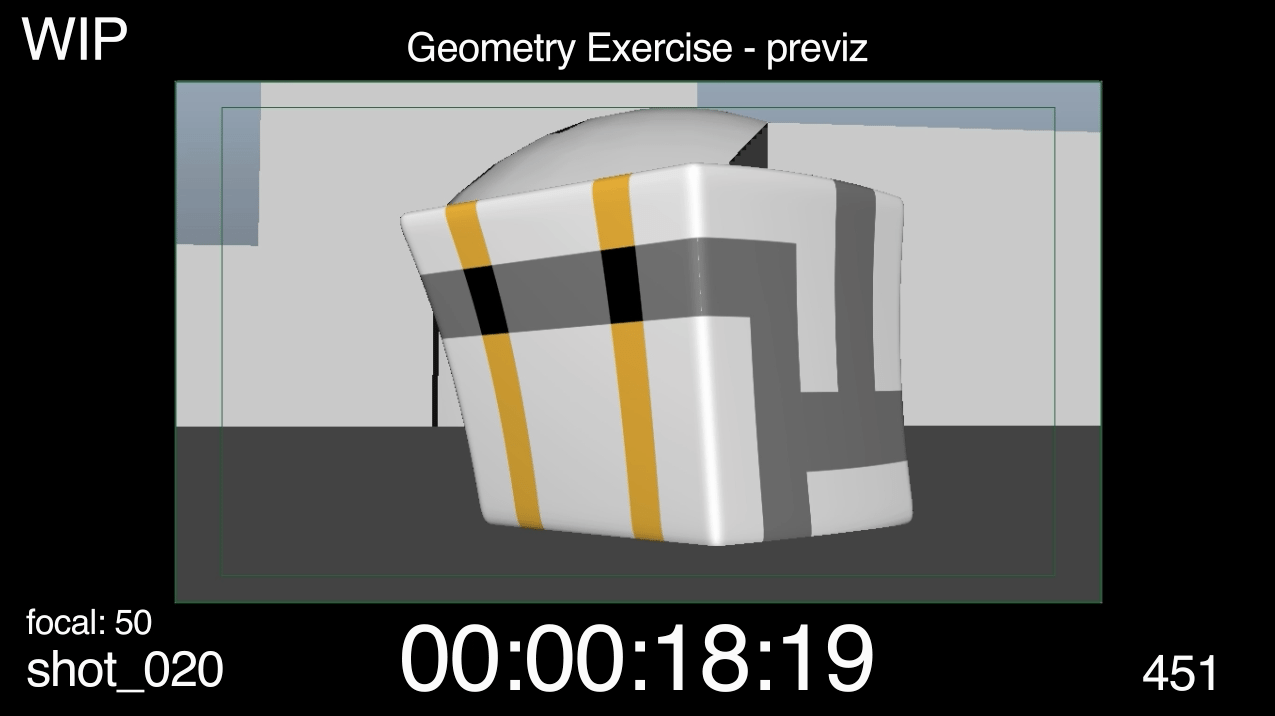
- The film title on the top middle.
- WIP (Work in Progress) on the top left, so that viewers will know this is still in development.
- Timecode on the bottom middle – one of the most important elements.
- Frame count on the bottom right – timecode isn’t enough, sometimes you need to know the exact frame count of shots, or when giving comments it’s easier to specify what frames need changing.
- Shot number on the bottom left – so you can instantly know what shot you’re watching when writing notes or comments.
- Focal length (or lens size) above the shot numbers – not a must have, but I like to know the kind of lens I used for each shot.
LIFT UP (formerly known as Geometry Exercise) Previz
Watch the finished film here.
Previous step: 3D animation pipeline
Next step: Visual Development
Making an Animated Short (FREE ebook)
A free ebook covering the process of making an animated short film from start to finish.