In the past year or so, those of you who followed this site witnessed the making of LIFT UP (formerly known as Geometry Exercise) as it was being make. Some posts came quickly one after another while some took a longer. Now that the film is done and the tutorials are finished, I decided to write one last post with all the videos together by order.
This will give a chance for newcomers to see what they missed and watch the making of the film in the correct order, all in one place.
The First ‘how to’ Video
This video was the first one I made for the Bloop YouTube channel (before there was even a site) and due to its popularity I decided to completely document the next film I was making (which turned out to be LIFT UP). This video was originally made for the purpose of quickly explaining to my friends and family what it takes to make an animated movie, since they never seem to really understand what I do all day.
It All Starts with an Idea
Moving on to LIFT UP, finding the idea was a challenge, but by focusing on a simple cube and a ball I was able to almost single-handedly produce an entire short in about a year. Here is the first video I made, revealing the initial concept of using a ball and a cube as the main character. This was so much fun for me to watch since I really did record it within the first few days of coming up with the story idea, yet I still had no idea how it was going to look, feel and sound.
Writing the Script
In this video (which is also the last one where I also shot myself talking instead of just recording the narration) I covered the basics of writing a script in the correct format. Although I didn’t write an actual script for LIFT UP (since it was all physical action) and went straight to storyboarding, I felt that a ‘making a film’ series wouldn’t be complete without a script section.
Storyboarding
This video, which turned out to be one of the most popular ones, shows how I storyboard in Photoshop using my Wacom tablet. This is one of the most important steps in making a film, since this is where you build the story for the fist time and can get a sense of what it’s going to be like.
Animatic
Once the storyboard is finished, turning it into an animatic is the next step. Animatic is basically an animated version of your storyboard with generic sound effects and scratch music. The animatics should be good enough so that if someone watches it they will understand the story perfectly.
Modeling and Rigging
In these videos I showed how I modeled and rigged the cube and the ball. I actually liked the ball rig so much and found that it’s better than the other bouncing ball rigs out there, so I gave it away for free to Bloop readers. It’s great for animation exercises.
The cube rig turned out to be more complicated than I thought it’s going to be, so I’ve had help from Ryan Robinson, who re-rigged the cube that you see in these videos. My rig still works in a way, but his was much better for what I needed. There’s a lesson here – you can’t do everything yourself. I chose a cube and a ball because I was aware of my own limitations (I’m not good at modeling and rigging) but even then, I ran into trouble. Getting help from others is essential for a project like this, yet I still tried to do everything that I can myself.
Visual Development
In this article I took the readers through my visual development process, including some test renders, and showed how I ended up with what would become the visual language of the finished film.
3D Pipeling
After getting all the 3D assets in place, understanding the 3D pipeline is very important. The correct way to structure your folders and reference your files for animation, lighting and rendering. I cover all of that in this video.
Previsualization (Previz)
Like the animatic, the previz is meant to convey the story in a primitive way, this time though we’ll be using all the 3D assets we built such as the rigs and the backgrounds (even if they’re only temporary assets). In the previz we set up the final camera movement and the placement of the characters.
And here is the actual previz of LIFT UP:
Camera shots and angles
In this video I went through my camera and lens choices while providing a detailed explanation on why I chose each lens or camera movement.
Animating
This was a cool video to make, since it’s basically a recording of me animating an entire shot from start to finish. This is great for people who always ask how I approach animating a shot, where do I start and what the steps are.
And here’s another video describing in detail the 6 steps of animation. If you’re curious.
Lighting and Rendering
This one is tricky, since there’s so much to say about lighting and rendering. It’s a huge topic in itself and covering it in one or two videos is impossible, but in this 2 part video I showed how I rendered the simplest of renders from Maya and made something really unique out of it in Nuke (my compositing program of choice). The thing that’s special about this rendering technique is that it’s extremely light (I used Maya Software) and because of that I was able to render the whole film using my 4 years old iMac.
Editing and Color Correction
In this video I showed how to bring all the renders and edit them in After Effects, and I also covered my color matching and color correction methods.
Sound Design
In this video I showed my workflow in Adobe Audition as I create the sound design for the film.
Finishing the Film
The last video in the series, bringing all the files together: The renders, the sound design and score, and export it all to make the final video of the finished film. I also went over some common export settings.
Making a Press Kit
One last thing to do before shelving away your film is sending it to festivals. For that you’ll need a press kit, and in this article I covered everything you need to make one including giving away a press kit template for free.
I’m done.
It’s been an amazing year creating this film and making these videos for you to follow along. I really appreciate all of you who watched, read, shared and/or commented throughout the year and I hope you’ll stay with me for the next project.
-Morr
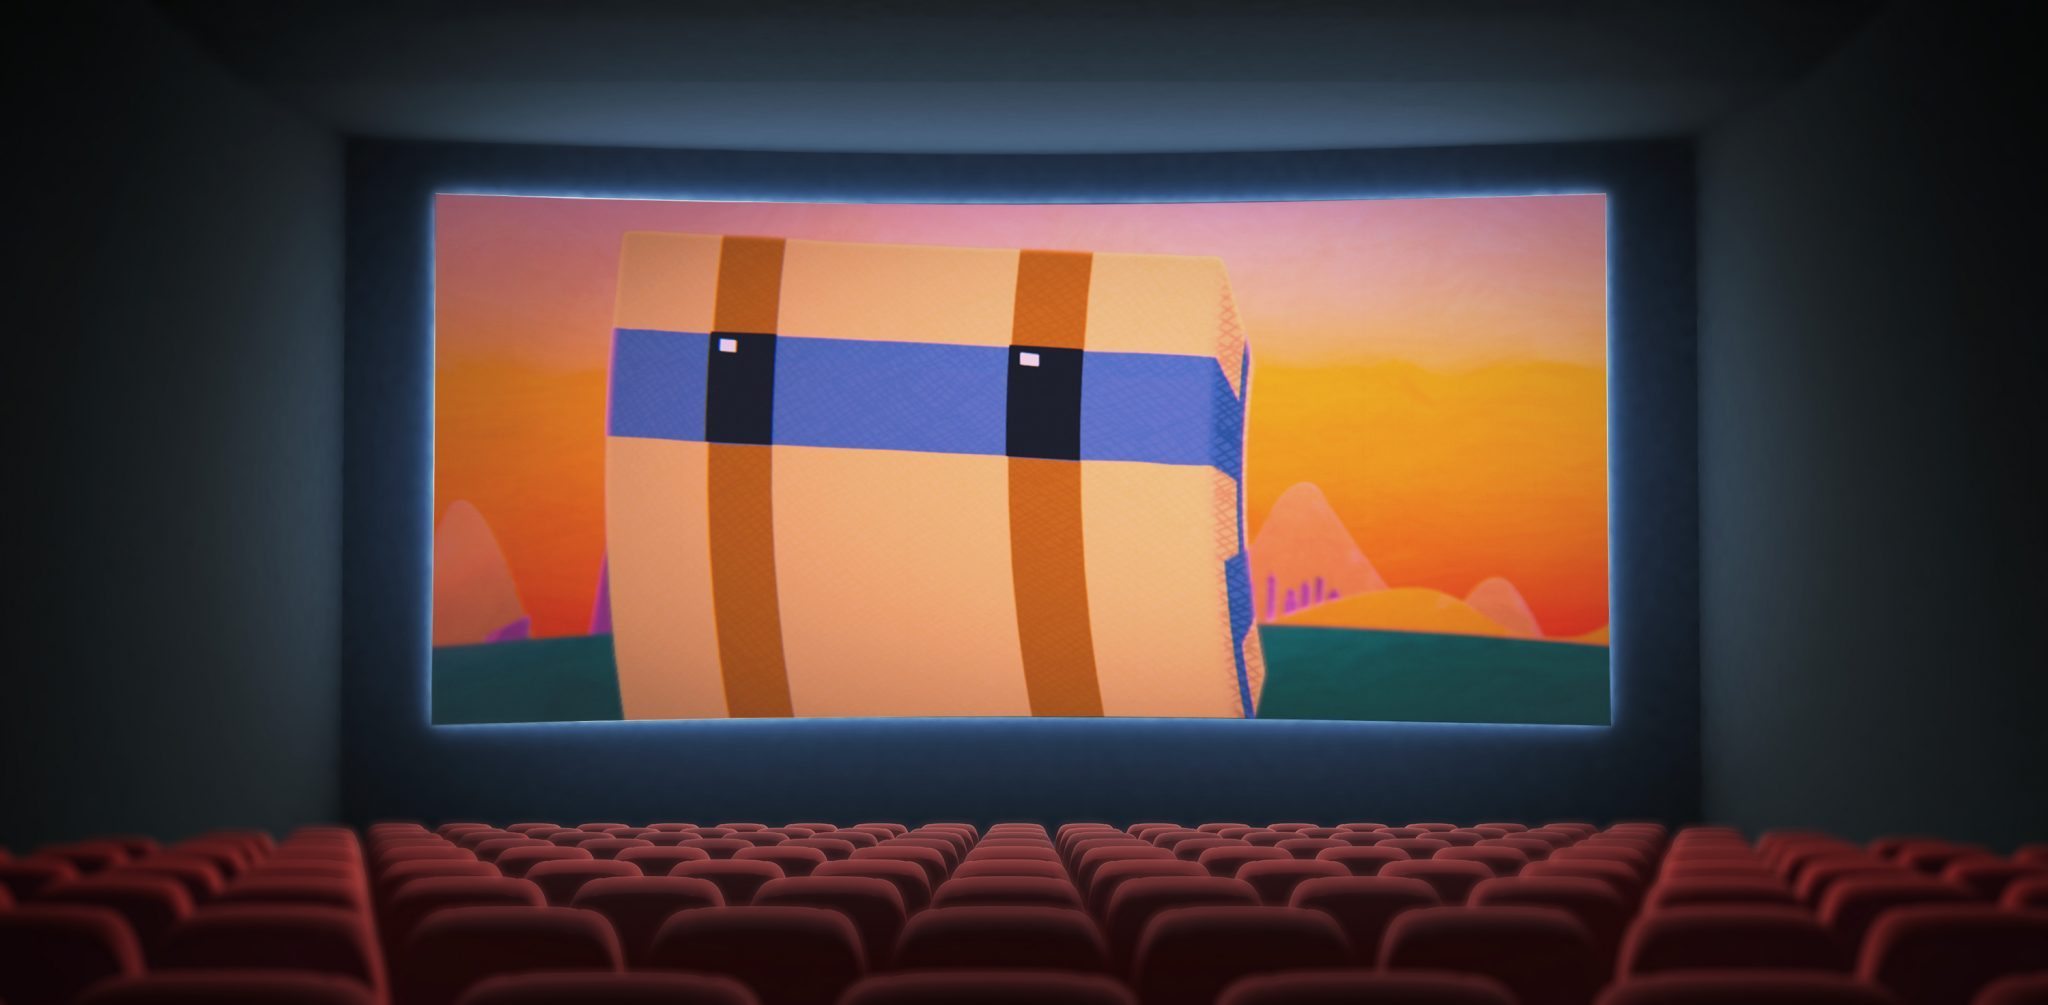
Oh, here’s the film in case you missed it:
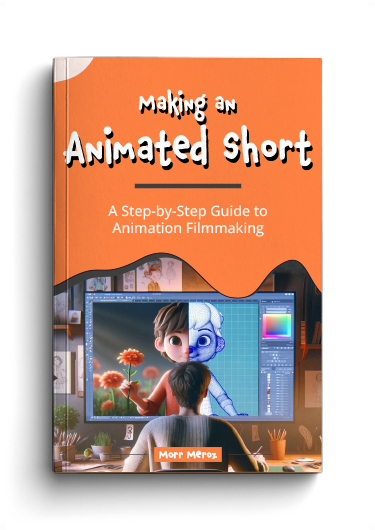
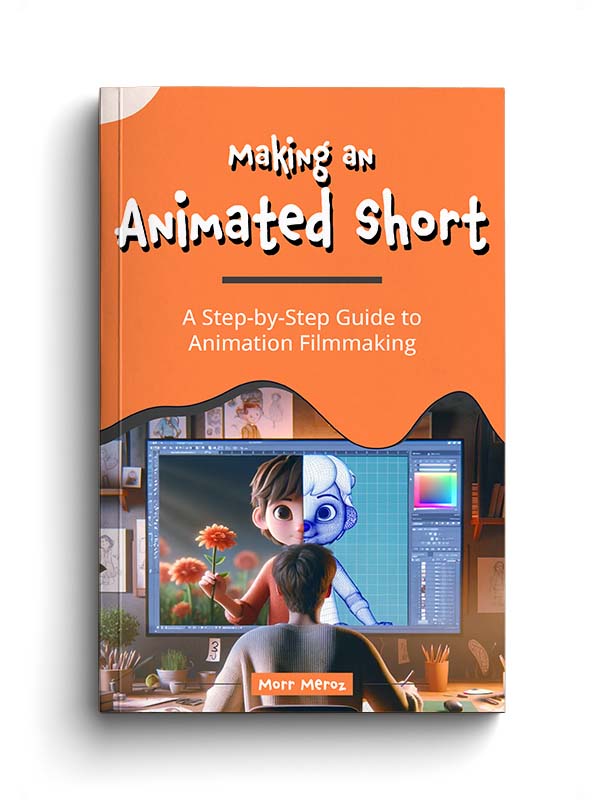
Making an Animated Short (FREE ebook)
A free ebook covering the process of making an animated short film from start to finish.