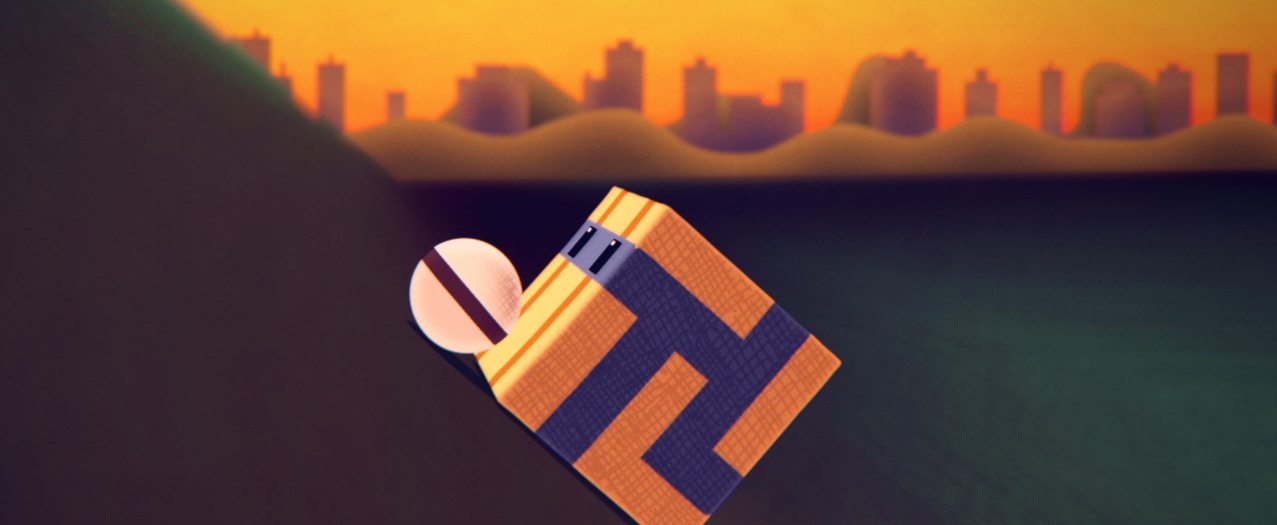
Lighting and Rendering
In this part of our ‘Making of’ series I’m going to show you how I lit and rendered the entire film, using only the basic Maya software renderer (Not Mental Ray or VRay) and without creating any lights.
I have included two video tutorials, the first one covers creating the render layers in Maya and the second one covers compositing them in Nuke.
Part 1
Part 2
Creating the World Position material
In the first video I used a special material that takes the world position of the object and colors it with red green and blue (which corresponds with the X, Y and Z axis).
To create the material just follow these steps, or just download the material for free:
- Open the Hypershade window
- Create a Sampler Info node.
- Create a Surface shader
- Open the Connection Editor
- Load the sampler on the left and the surface shader on the right
- Connect the normalCameraX to the outColorR
- Connect the normalCameraY to the outColorG
- Connect the normalCameraZ to the outColorB
- Apply that surface shader to the object of your choice.
Next step: Editing & Color Correction
Making an Animated Short (FREE ebook)
A free ebook covering the process of making an animated short film from start to finish.
Download